
Panel 2 - Part 1.
A Daisy, wild Sorghum & a snail.
So we left this project with just a spider charm to add and are moving on to Panel 2 and using ribbons.
Materials used in this panel 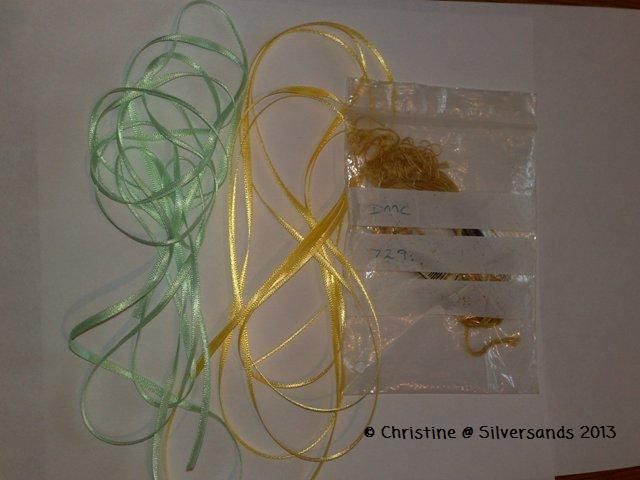
We are using Groves & Banks Ribbons which you can get practically anywhere these days. Mint & yellow gold 3 mm ribbon & 2mtrs of each. Also DMC 729, 420 & 955
When working with ribbon you need a large eyed needle, for the ribbon to go smoothly through the hole the needle needs to be able to pierce a big enough hole, and the eye needs to be large to take the ribbon, if you create too large a hole you can always push the fibres back to close the hole at the end when tidying up.
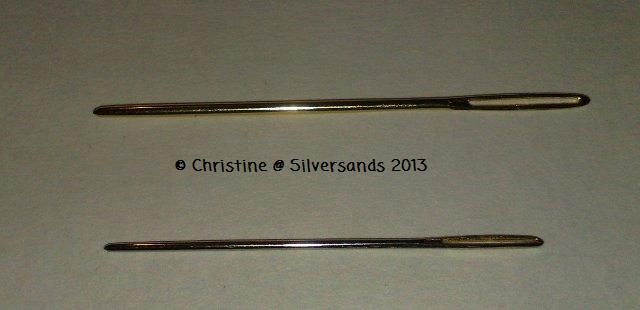
I am using a chenille size 18 & 7 & crewel size 7.
we are starting with the daisy
so take the Mint ribbon, we shall be working on the stem & leaves Cut it to about a foot long (30cms) as its more manageable. Knot the end thread 18 chenille.
Come up at A at the bottom of the stem 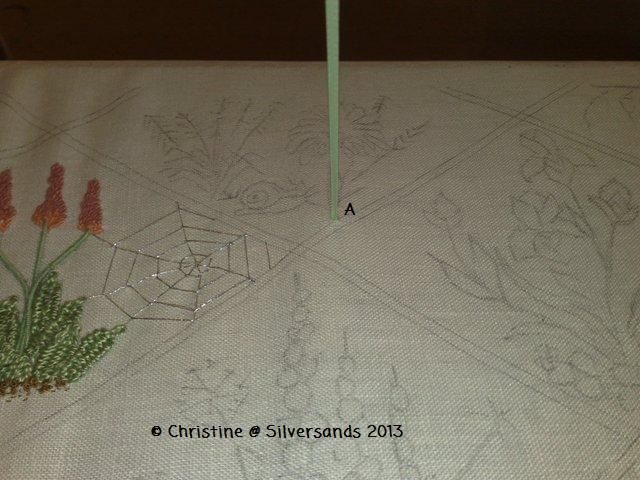
Twist the ribbon and take to the back at B - just past the petals near the middle of the flower
This is a twisted straight stitch, easy eh :D. See I said it wasn't too bad. This is the stem completed, so cut ribbon at the back and using DMC 955 secure the ribbon tail at the back. Bring the needle through the front (your using a normal needle now), just push the ribbon in to place hiding pencil marks and just catch it down here and there with some tiny stab stitches to hold it.
Now on to the fly stitch leaves.
cut a new length of mint and now on to the fly stitch leaves, starting at the top of the leaf come up at A 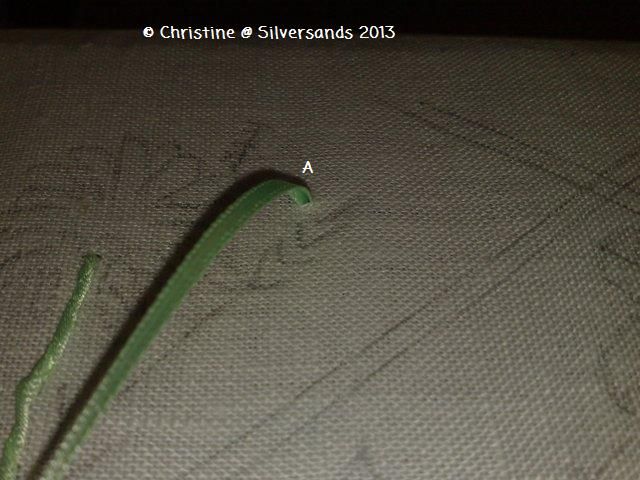
catch a stitch at B and come through at C 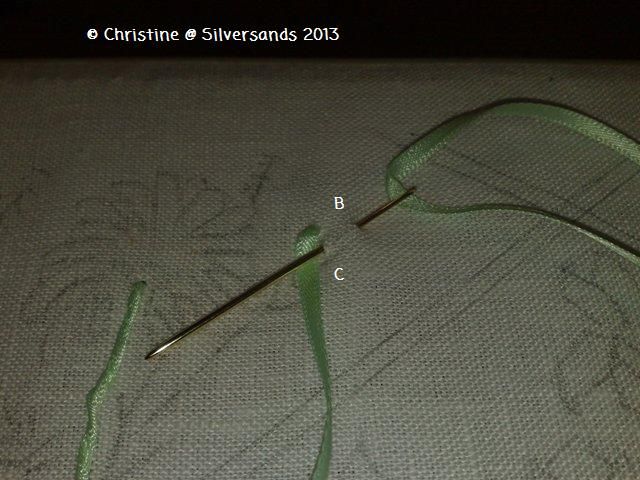
make sure the ribbon is under the needle, use a thumb to keep it in place and pull your needle through keep pulling till it's tight and then take the needle down again as close to C as you can, come up again at the tip of the next leaf down and do the same again, continue all leaves.
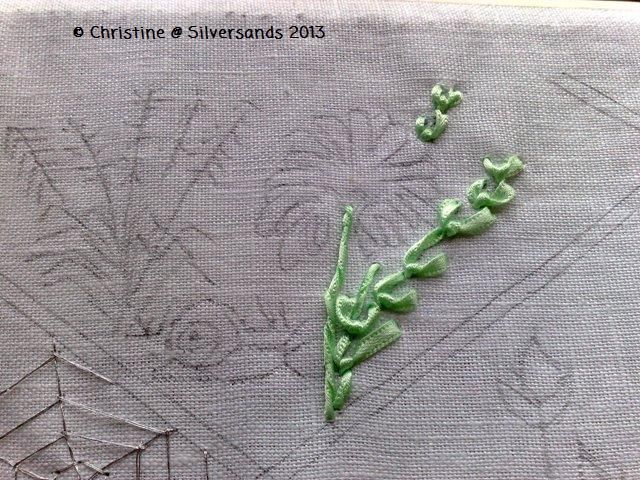
Secure your ribbon at the back and snip excess, then change to the Gold ribbon.
Now its on to the daisy petals, every alternate petal is a open daisy chain or detached chain stitch
bring your needle up at A & take it down at b 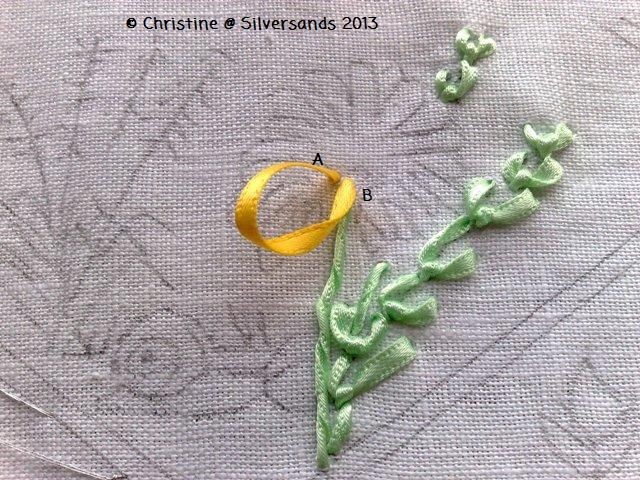
Come up at C
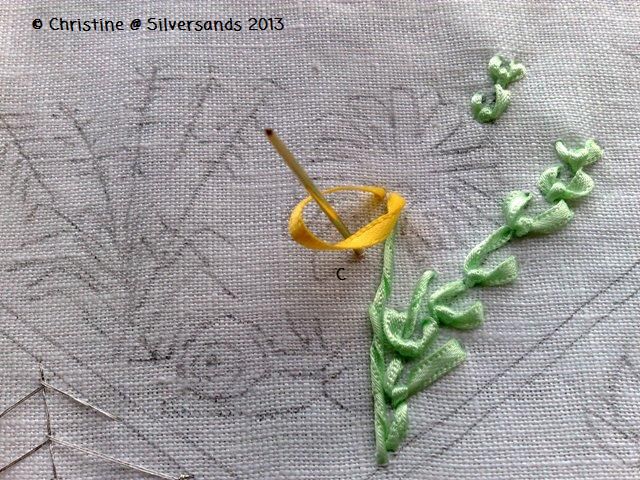
And down at D 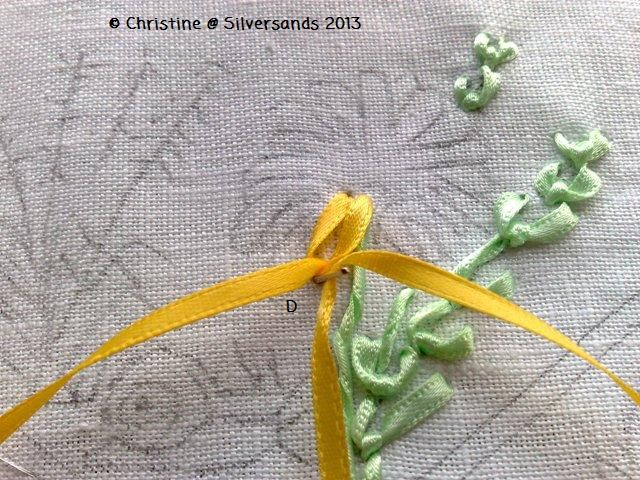
Do each alternate petal like this, I tried to vary the lengths, the in-between petals are a twisted straight stitch, the same as we did for the first stem, it now looks like this 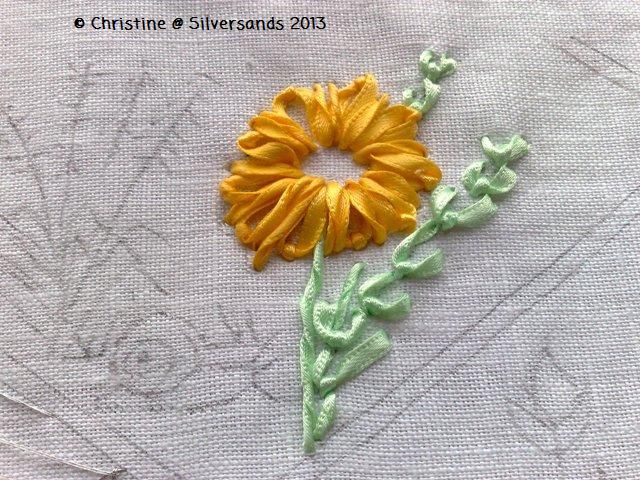
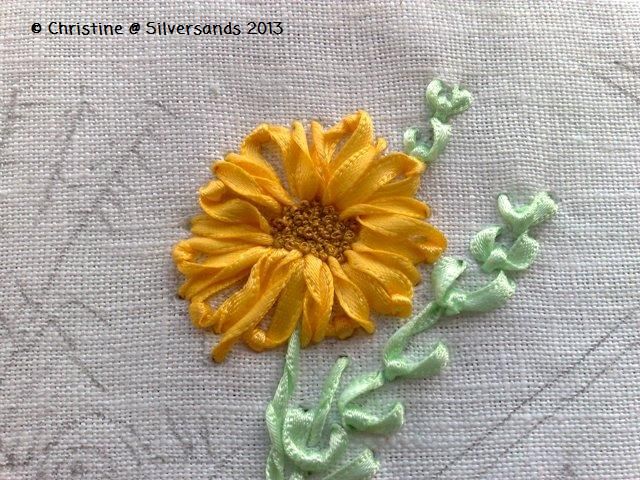
Now I filled the centre of the flower with French knots, using 1 & 2 wraps & 2 strands of 729
So its on to the snail ( i didn't finish this today as I had to go to my class)
Outline the shell with stem stitch using 1 strand of DMC 420
come up at A And down at B but don't pull thread all the way through 
Come up at C and now pull the thread through
take a stitch forward and then come up at C which this time will be right at the end of the first stitch 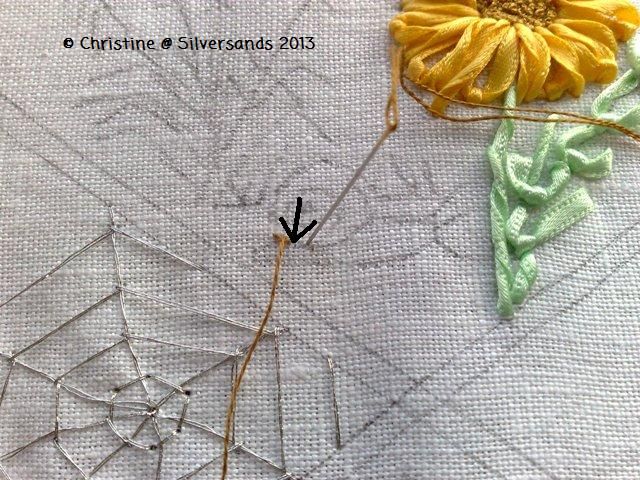
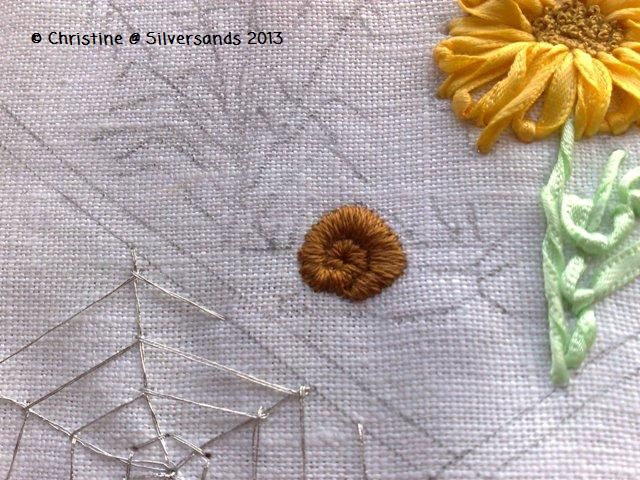
Pull through and keep going till you have outline the shell, the next step is padded satin stitch to fill the shell in 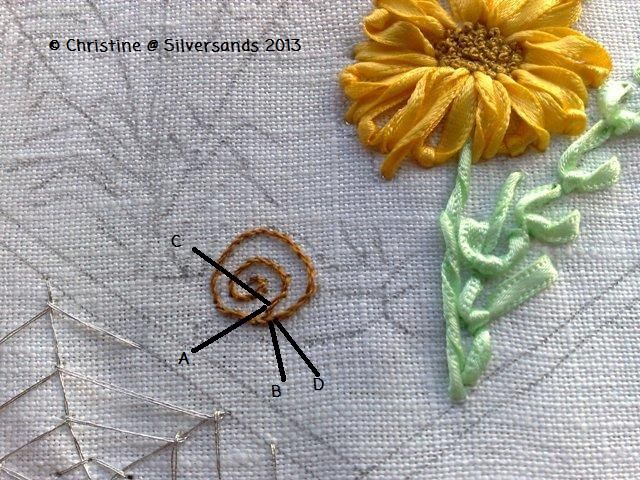
Satin padded stitch is easy, you outline a shape then stitch over it going outside the outline.
So
come up at A, Down at B (A Laying tool or spare needle used as a laying
tool works well here to keep the satin even)up at C & down at D,
and then just keep going following the curve.
So
this is far as I got, the next stage is to work the body of the snail, which we will look at next time. As you can see its not too daunting and quite effective once you get going.
Hope I'm not boring you with this & thanks for the comments so far.


No comments:
Post a Comment
Note: only a member of this blog may post a comment.