Wednesday 4 June 2014

Wildflower Panel Tutorial. Panel 12 Daffodils, Lavender & violas.

Panel 12 - Daffodils, Lavender and Violas.

Materials Used

DMC 470.

GB Ribbons / Pale yellow, Sage, Purple, Mint. Blue

Yellow Organza Ribbon.

Gold / Silver seed beads.


So we start with the daffodil stems, using sage ribbon, I made twisted straight stitches for the leaves. Then I worked the daffodil Petals using pale yellow ribbon and detached chain stitch. So we end with this

Next was to make the daffodil bells, taking a 6cm length of organza

Fold it over, a tack stitch the ends together, then run a tacking stitch along one edge

Pull the thread and gather stitches, open the bell and stitch the back closed leaving a long tail this will be used to attach to the ground fabric

Make 2 of these bells, and attach them to the ground fabric, ending with this

Next taking DMC 470, I stem stitched the lavender stems, and wrapped a couple of the stems.

next I used the blue 3mm ribbon to make small flat ribbon stitches to denote the lavender. I made a few below the plant to denote dropped lavender.

Next came the violas, I made 3 petals using the purple ribbon, making detached chains close together, and then changed to the pale lemon to make the last petal on each Viola. I then added a gold or silver bead to middle of each flower, ending with this

And so ends panel 12 - all that is left to do to complete this project is to use a lavender organza ribbon to separate each panel, and attach the spider to panel 1. I will do this over the next week or so and post a final update when completed.

So I hope you have enjoyed following my progress on a new project, and may even investigate and have a go yourself.

Thanks for following.

xx

Monday 2 June 2014

Wildflower Panel, Ribbon & Stumpwork Tutorial–Panel 11–Pansy, tulips and Butterfly

Panel 11 Tulips, Pansy & Butterfly.

Materials used.

DMC - 955 / 211 / 209 / 3755 / 3727 / 3733 / 793 / white
Anchor - 300

Cake wire

Scrap Net or Organza

Scrap cotton.

4 droplet beads

GB ribbon, red / mint green

The first thing was to trace the pansy petals on the spare cotton, along with stumpwork leaves as you can see I marked them up in order for putting together. Starting with the Pink Pansy I used, 3733 to long and short button hole stitch around the edges of each petal then filled it with long and short stitch to fill using 3727, white & 793.

I did the same again with 211 & 209 for the lilac pansy. The leaves were done in satin stitch with 955

There were a couple of leaves on the ground fabric so they were satin stitched with 955.

Next was to cut out the pansy petals and leaves close to the edge as we have done previously and attach them to the ground fabric. Make make 19 wrap bullions in Anchor 300 yellow to fill the center. All petals and leaves are stitched to ground fabric

Next I raided my bead stash and found droplet beads and attached them for the Tulip shape, using red Ribbon and a ribbon stitch, I covered the beads to form the tulips

Next was to make the tulip stems, in mint green ribbon, I think I chose a too wide ribbon here and could have twisted the stems, but I was bored, in a foul mood and CBA.

Next came the butterfly wings, I traced the outline on to the netting, couched cake wire using 793 and over sewed the cake wire. Then filled some detail on the wings with straight stitch and French knots ending with this

I cut them out close to the stitching, then stitched the body of the butterfly with French knots in 793, and attached the wings, I added a few seed stitches under the tulips and so we end with this

The Tulips got right up my nose, I am not happy with the stems but there we are.

Now on to the last panel, daffodils, lavender and violas. Soon be over now.

Thursday 22 May 2014

Wildflower Panel, Ribbon Stumpwork Tutorial–Panel 10 An Orange tree

Panel 10 - An Orange Tree.

Threads -  DMC 51 (variegated) 420 / 470 / Anchor 300.

Ribbons - GB sage green / GB cornflower blue.

Scrap fabric

Bird Charm.

Cake Wire.

Wooden beads


Starting with the basket of the Orange tree, draw the basket shape on the spare fabric and couch the cake wire around the top, then over stitch like this with DMC 420


Next stem stitch the sides, and then make long straight stitches down the basket.

Next weave over and under the straight stitches like this

To make a woven basket ending with this

make seed stitches in the top of the basket like this

then make a running stitch around the outline of the basket.

Cut the basket out, make sure you don't cut in to the running stitch as it will be gathered up.

gather the threads and then stitch the top and sides of the basket to the ground fabric but leave the bottom open for stuffing.

Push the sides of the basket in as you stitch to hide the cut edges, then stuff from the bottom and when happy with the shape stitch the bottom of the basket closed.

next cut your cake wire in to 8cm  lengths

Twist them together to make a tree.

make a small cut in the top of the basket and insert the wire.

Now its time to wrap the wires, so that the branches are free floating, no couching to the ground fabby

using the long tail threads, secure the tips of the branches where you want them to be

Next, making the oranges, using small wooden beads and varigated thread 51, cutting the lengths with the colour variations I wanted, I wrapped the bead with the thread.

ending with this

Make 12 or 13 of these oranges, I liked the variegated thread as opposed to bright orange. As I think it looks like the oranges are ripening on the tree and at various colour stages.

using 470, make a knot in one end then thread it through the orange, then stitch the orange to the ground fabric
continue this using all the oranges but leave one to stitch to the ground by the basket.

Next using the sage green ribbon and detached chain stitch, fill up the spaces between the oranges to make leaves in the tree, make a few leaves around the orange on the ground and scatter below the basket. Using the cornflower blue ribbon, make the forget me knots using flat ribbon stitch filling the center with a 4 wrap French knot using anchor 300 yellow.

Make straight stitches, with a couple of couching stitches in 420 to denote the ground tiles.

Ending with this

Lastly add the bird charm and so we end with this

So ends panel 10, we only have 2 more panels to do, next time Pansies. Tulips and a butterfly.

Sunday 11 May 2014

Wild Flower Panel–Ribbon work / Stumpwork tutorial–Panel 9 Fox gloves.

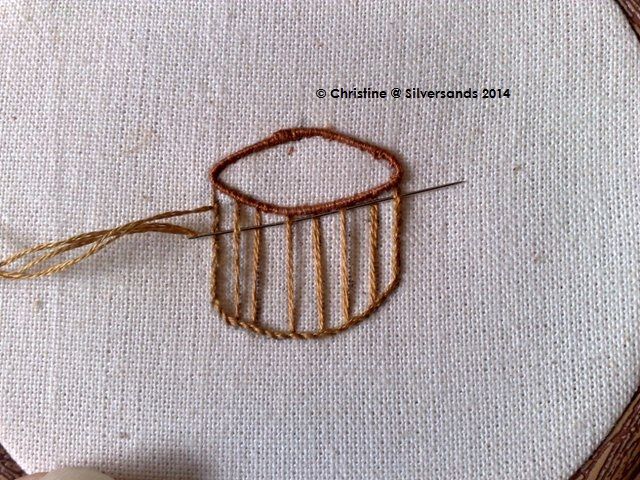
Panel 9 - Fox gloves.

DMC - 955 / 470 /793 /3717 / 3341
Anchor 300

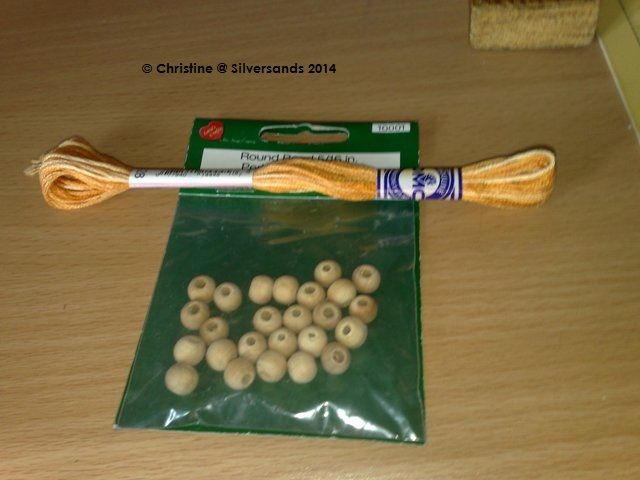
Cake wire / Netting or Organza scrap / Yellow seed bead.

Ribbon: GB Pink / purple / sage / dark olive green.

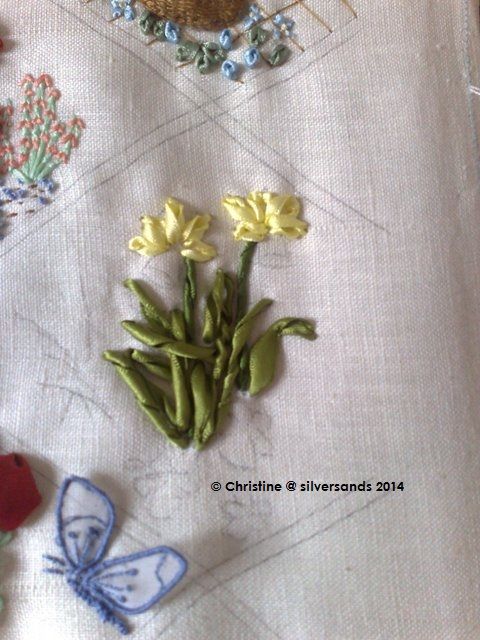
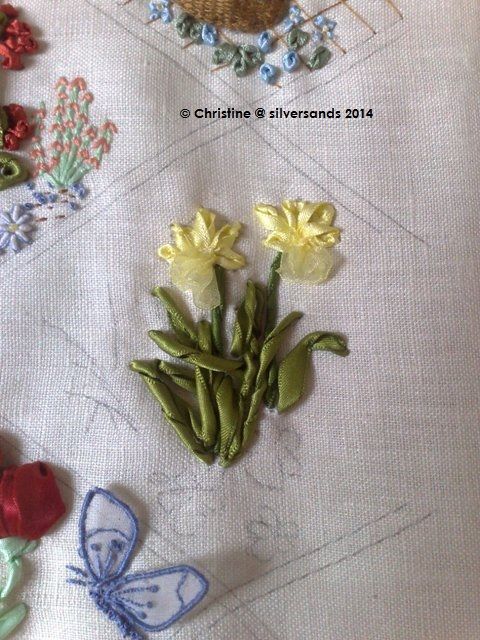
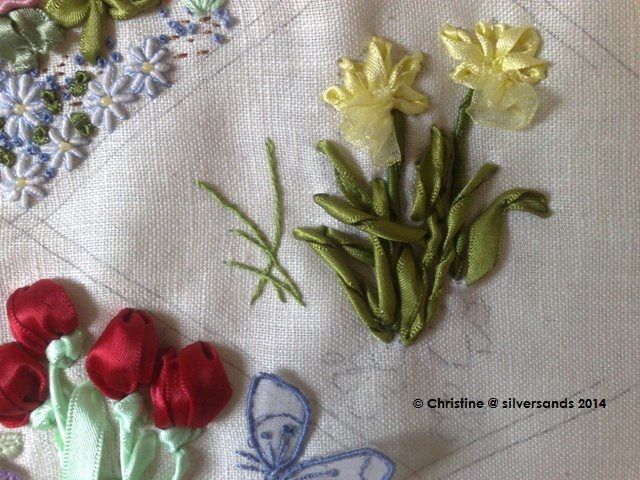
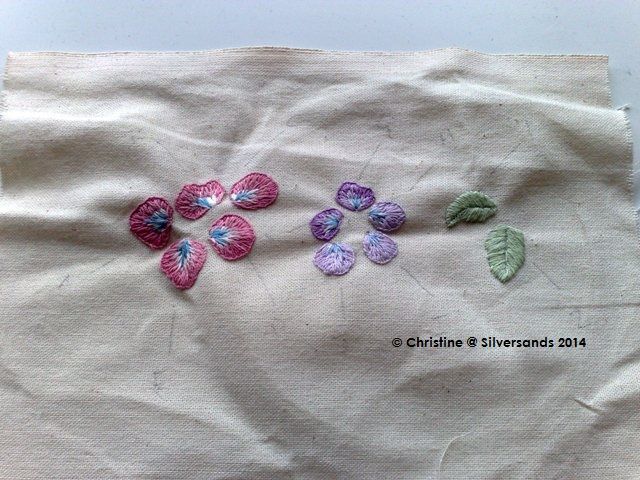
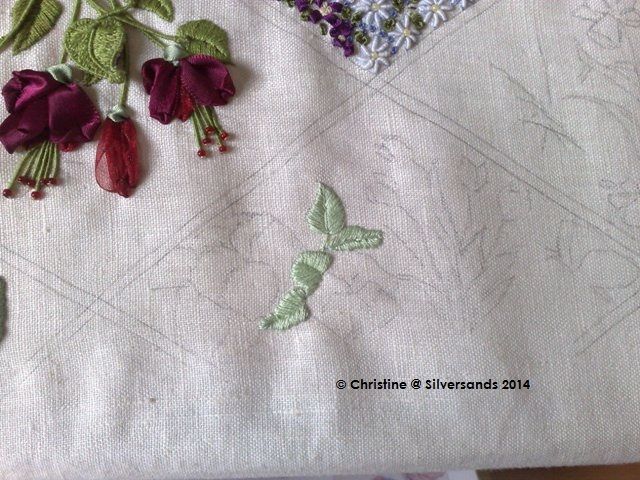
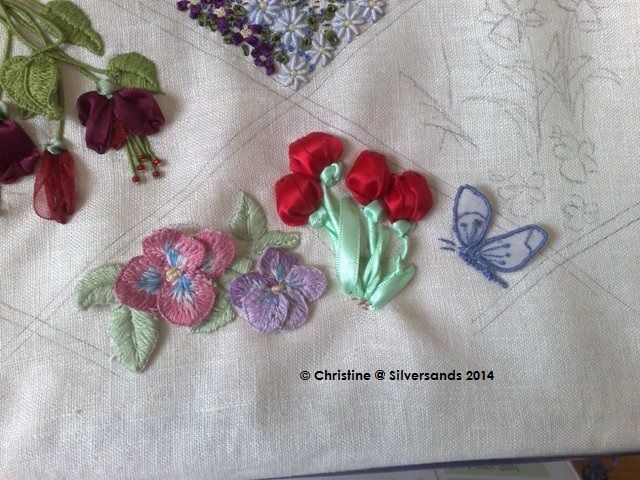
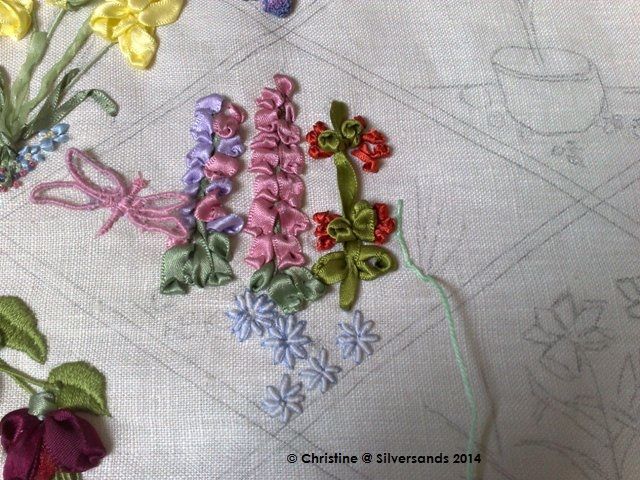
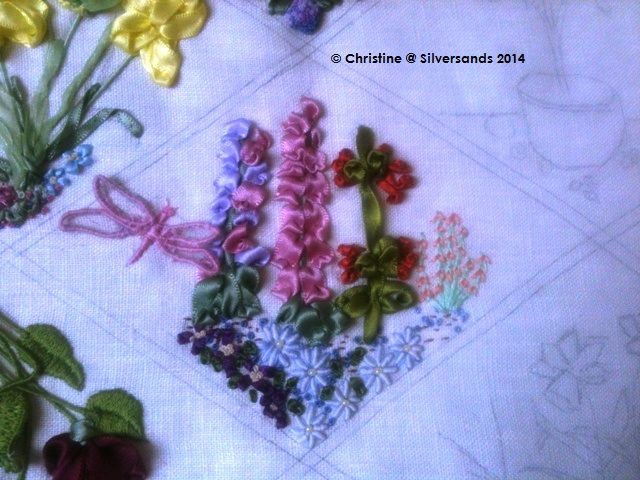
The first job is to make the foxgloves, starting with Sage ribbon I made made a long straight stitch on both foxgloves to make the stems. Then I used the purple and pink ribbon to make ribbon stitch flowers, changing back to sage green to make 2 detached chain stitches for the big leaves at the bottom of each fox glove ending with this

Some of the ribbon stitches were a little bit more poufy than I would have liked but with synthetic ribbon its a pain the in neck to get the ribbon to stitch through its self, with pure silk ribbons they are softer and you don't have this problem. The problem you have is that if your in the UK, silk ribbon is expensive and hard to get hold of and in these current climes you have to use what you can easily source. Well that's my excuse anyway.

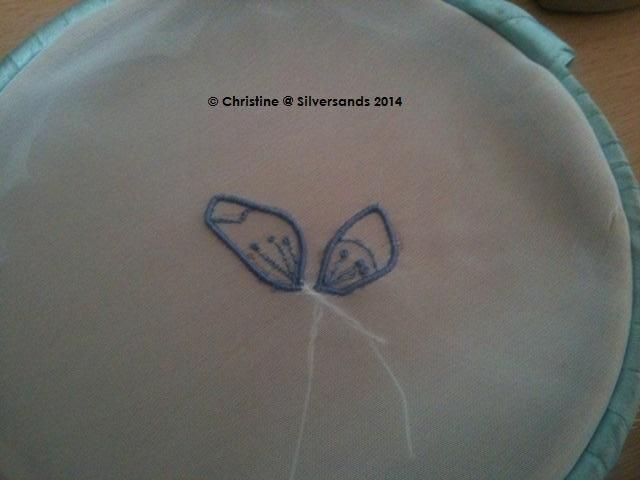
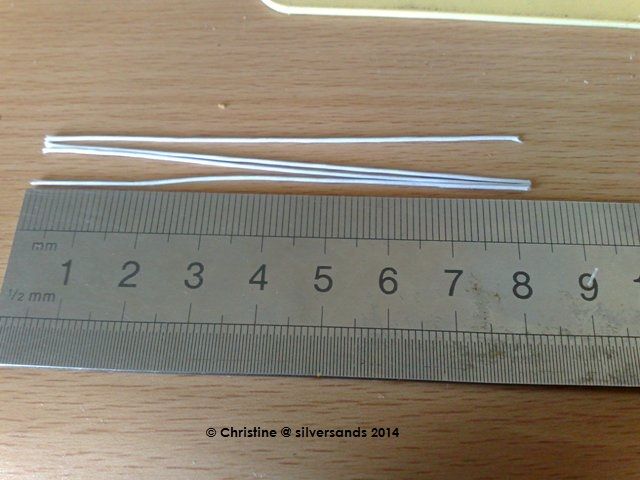
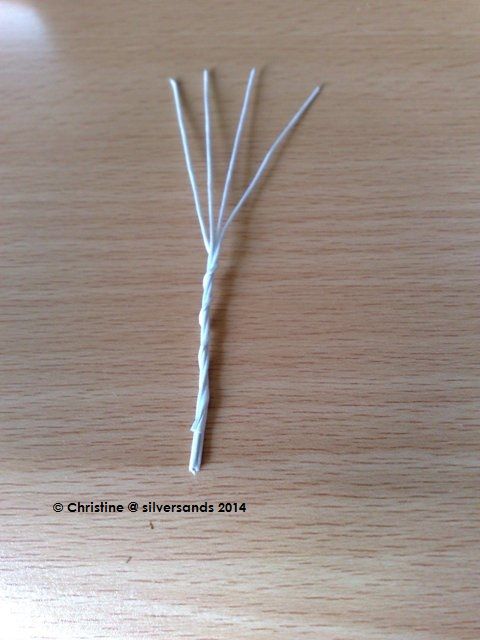
So the next part is to work the dragonfly. Tracing the wings on to netting I mounted it in the hoop and then couched wire to the shape of the wings and then overcast the wire like this

As you can see, I drew the wings on grease proof (makes cheap excellent tracing paper) and then laid the netting over the top and mounted both the grease proof and the netting in to the hoop. This gave me the outline of the wings which you can't trace on netting. I do have some organza scraps but couldn't find them so had to use netting. Now this looks scrappy to me but can be tidied up later. The next job was to cut the wings out just like in the previous panel when doing wired stump work, cutting close to the stitching angling the blades of the scissors so that the thread is not cut. I then picked out with a needle the little bit of grease proof still left in the wings and so we end with this.


I cut the 2nd from the top wing slightly too short but once this is fixed to the ground fabric I can secure it better.

The next job is to poke the wing tails through the ground fabric and secure the tails on the back, then faff about with the wings till they are right. I then used 3713 to stitch 3 long stitches for the body between the wings and overcast them to form the body, 3 French knots for the head in 3713 and 2 short straight stitches for the antenna ending with this

Now this looks a bit to scrappy for my liking and really needed organza for the wings, I may in the future go back and redo this dragonfly. You can also in this picture see the start of the rain daises which we'll get to in a while.

The next job is the wild dagga, I made a long straight stitch in dark olive ribbon, and made a few French knots in the middle and near the top of the stalk with the same olive ribbon, and this was a total nause as the ribbon was tough but I got there. I then changed to fiery orange ribbon and made pistil stitch leaves, which basically is French knots on a stalk. As we have covered these stitches before I never photo'd them.

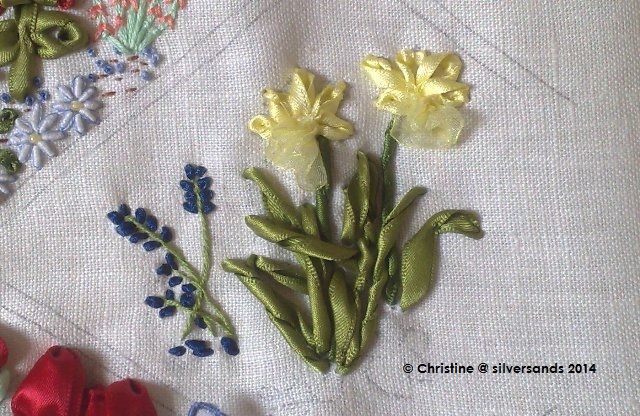
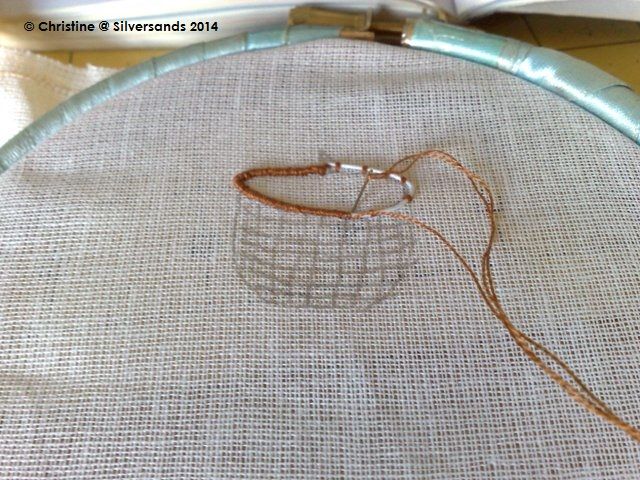
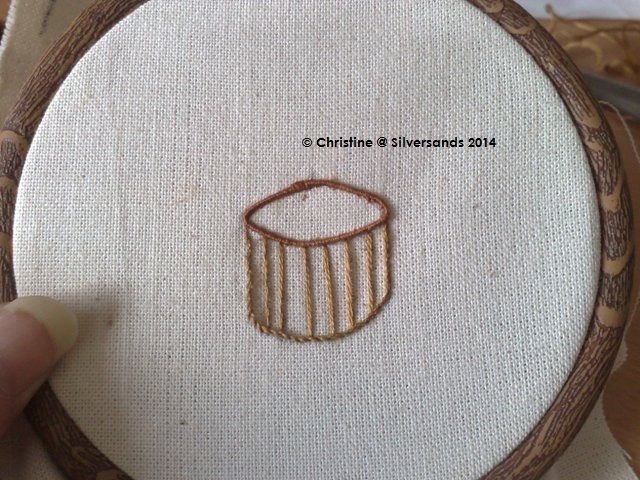
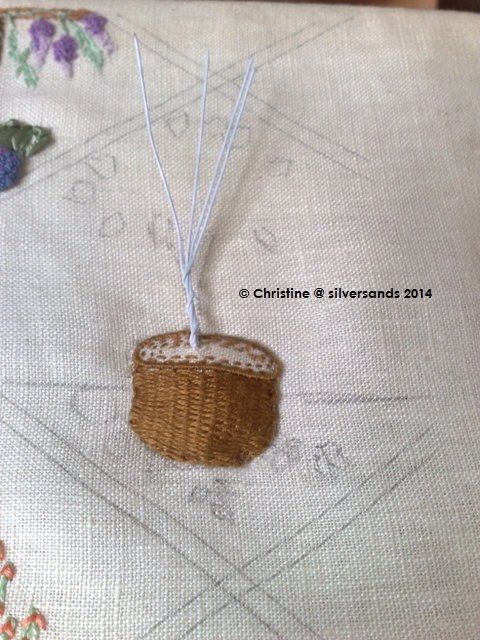
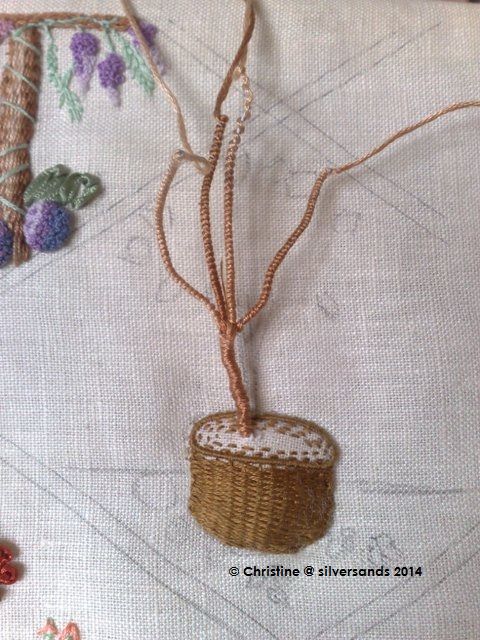
Next came the small plant, so I used 955 (6 strands) and made straight stitches for the stems and couched them down, I then changed to 3341 and made short stab stitches ending with this.

You see both the wild dagga here and the start of the small plant.

rain daises are just bullions with a detached chain stitch edging


10 wrap bullions we covered before as well as detached chain.

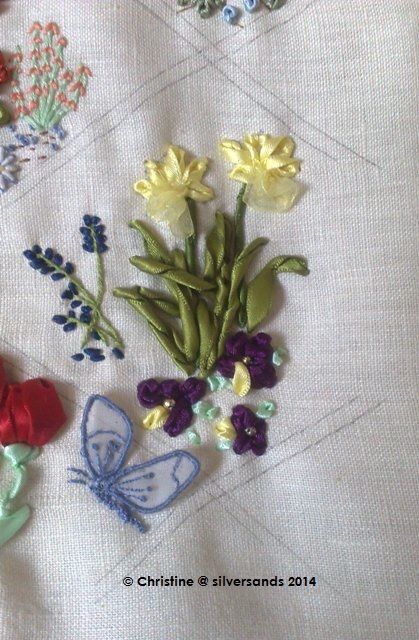
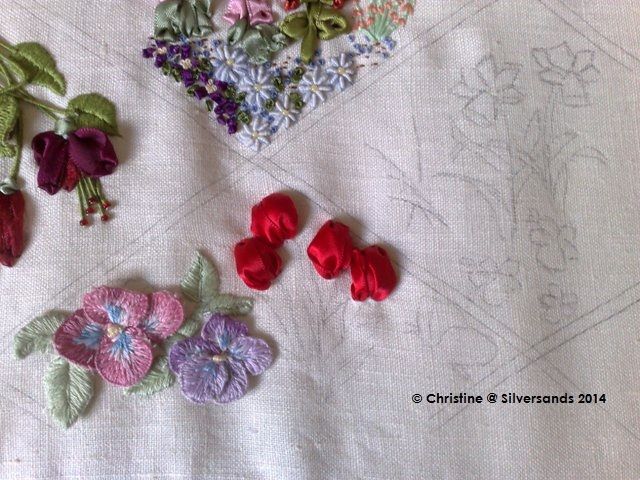
next came rock roses, now we have done these before as well, I used purple ribbon to make 4 flat ribbon stitches for each flower then filled the center with Anchor 300 and French knots. I then used some brown thread to scatter seed stitches around the base of all the flowers, and then used 793 to scatter French knots around the base, rock roses and rain daises.

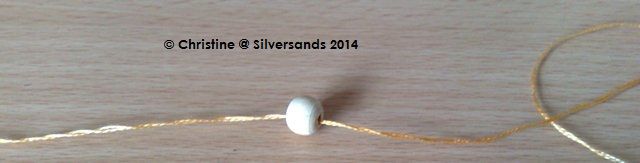
the rain daises called for a bead in the center, I first tried one of my small gold ones,

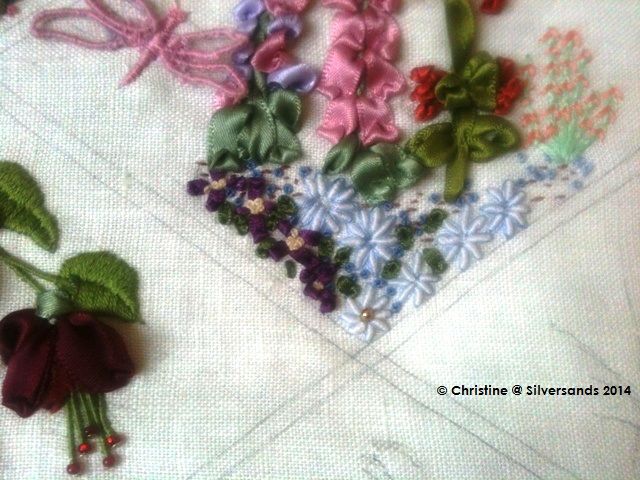
but it looked too big to me so i changed it for small yellow seed beads. I then put some small green ribbon stitches in to denote leaves.

i thought these looked better so we now end with this.

So not the best of the panels I think, but I am learning this with you as we go along and some techniques I am better at than others.
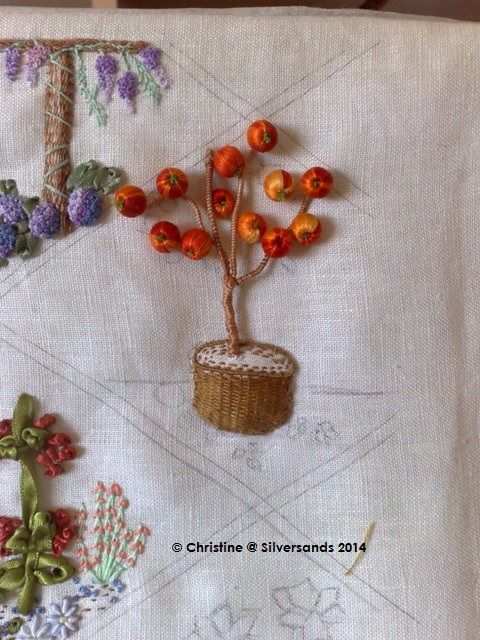
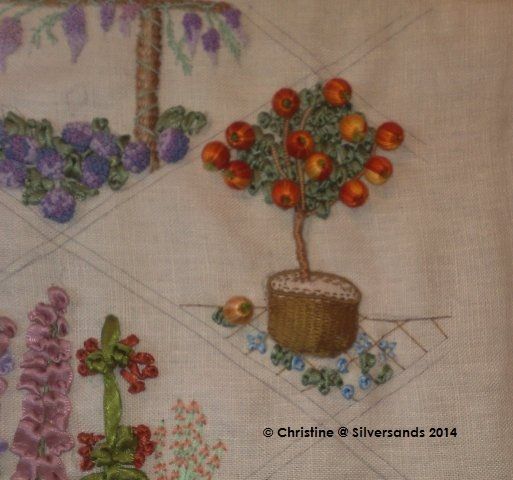
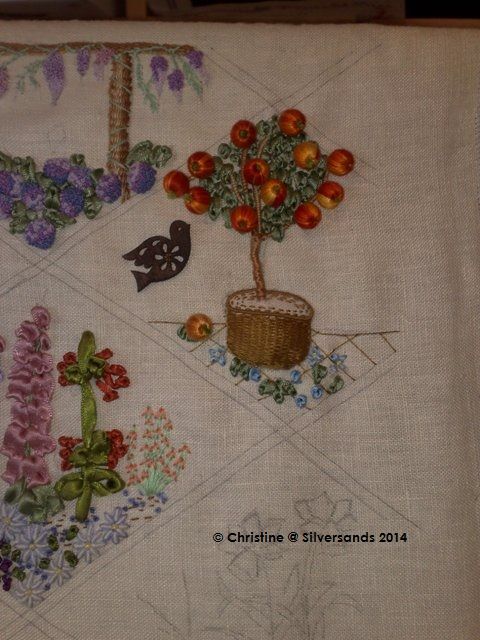
next time we move on to panel 10 - An orange tree & forget me knots.