
In this part we work on the lily & ladybird.
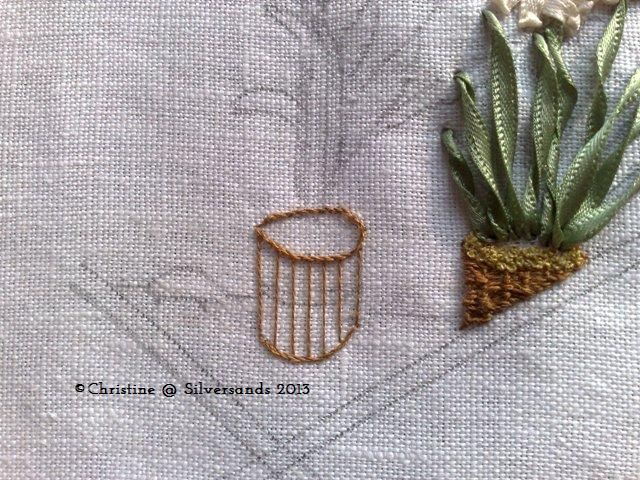
Starting with the basket, create long stitches at intervals on the basket,stem stitch the outline and then fill the basket as we did for last one 
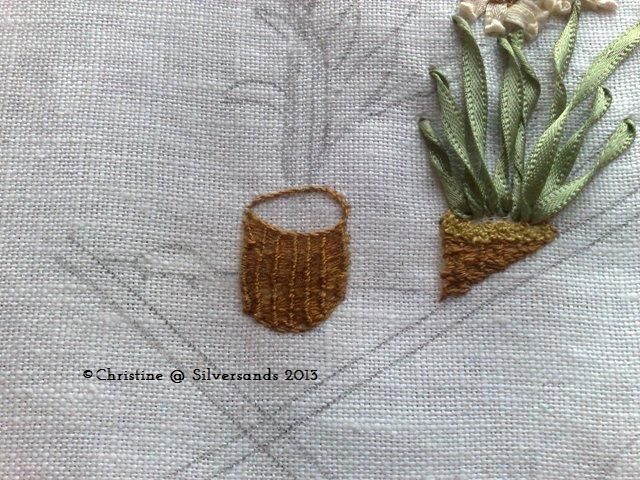
Now that we have a full basket you can see the woven pattern better than on the 1st one.
Next is a wound floating stem the same as I did for panel 1 - if you remember I didn't like that floating stem too much so this time, I took the wire to the back and couched it down. 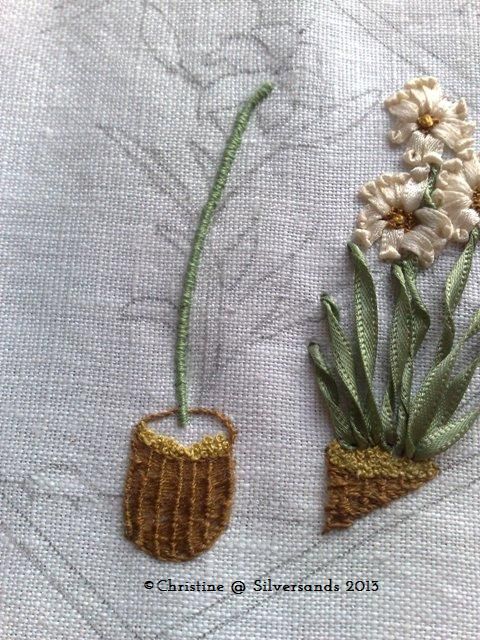
Next we work on the buds, this is detached chain or fly stitch, which we have work on before
so starting with the yellow 3mm ribbon, come up at A down at B 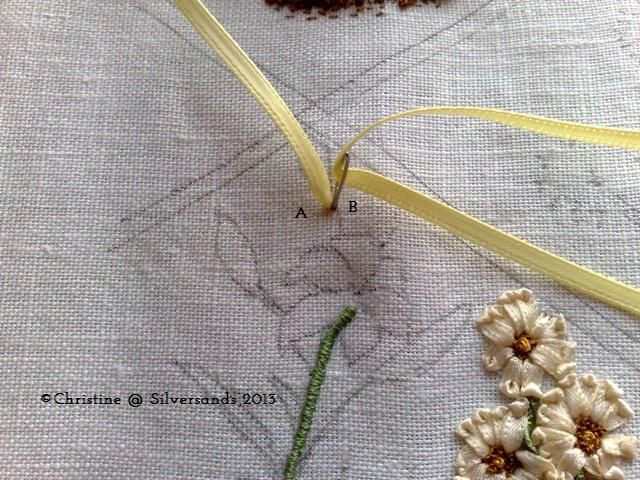
Up at C & down at C or very close too 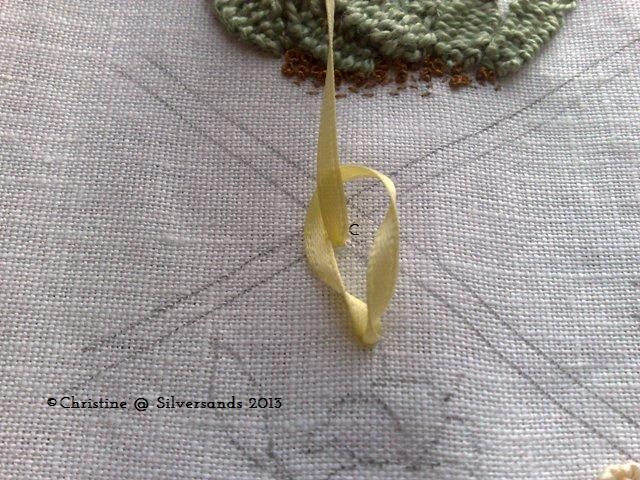
Now to give the bud some extra oomph I'm going to cover it with the same organza ribbon as I will use for the lily petals, and then to finish, use the same green ribbon for the leaves to make a detached chain / fly stitch around the bud 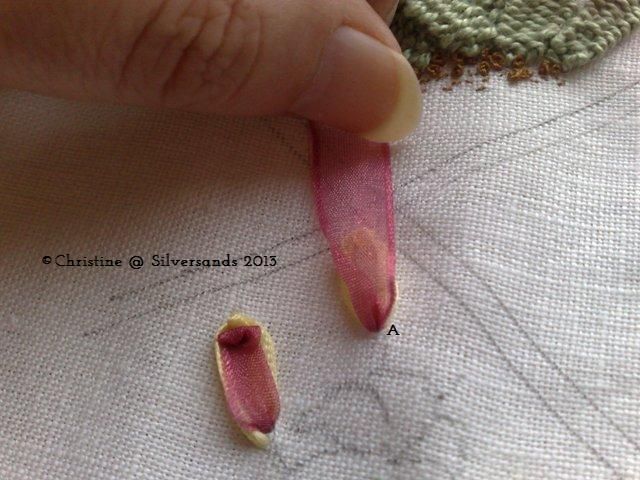
you can see one I have already done, here, the organza ribbon is ribbon stitch which we have done on the narcissus, so come up at A and go down at c just inside the top of the yellow ribbon 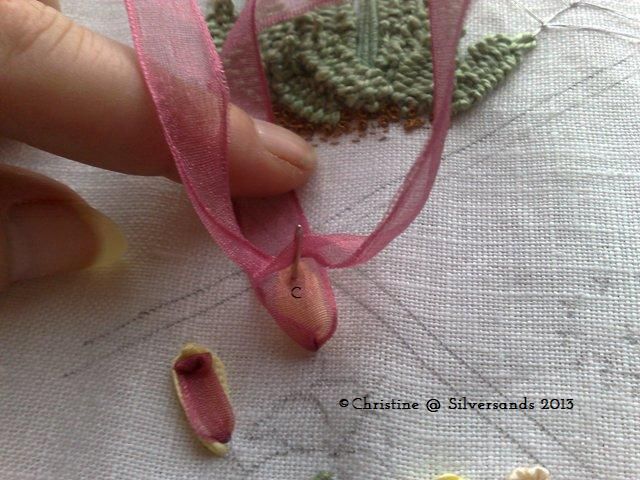
You can see one already finished 
Next as we're already using the organza, I worked on the lily petals, now these are also ribbon stitch, so nothing too difficult here. come up in the middle of the lily take the ribbon to the petal edge and make a ribbon stitch, you can make it as poufy as you like here 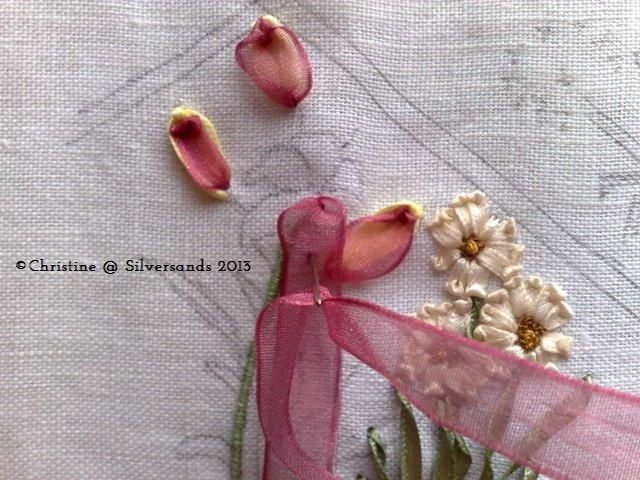
Once the lily petals are done, just fill the center in with French knots & pistils (French knot on a stalk) which we have also covered before. I used 1 & 2 wraps to the French knots.
All that remains to complete the Lilly is twisted straight stitch leaves which we have covered before and a fly stitch in the same green around the buds to make them look like they are just opening. 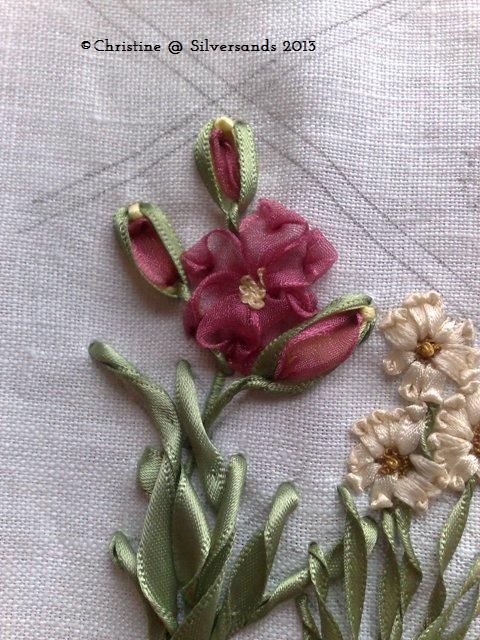
Next is just the ladybird to finish and the ground, the lady bird is padded satin stitch, in red & black, make a few French knots inside the ladybird, then stitch in red from the front to the back of the ladybird over the French knots, bring the needle up just outside the pencil line and take it to the back just outside the pencil line. Change to black, make a couple of satin stitches at the start of the ladybird and a couple along its back, then make a few odd French knots to depict his dots and 2 straight stitches for his legs
Changing to DMC 420, I made a line of stem stitch for the horizon and a few seed stitch (1 back stitch) around the base of the basket

And that is our 3rd panel finished,
Stitches used: Whipped spiders web, twisted straight stitch,Straight stitch, Ribbon stitch, Seeding, French knots, Couching, Pistil stitch, fly stitch, grab stitch, Stem stitch, Detached chain stitch, Satin stitch.
Threads: DMC 420, 429, 310, 349, 834, 368
Ribbons: Groves & Banks - 3mm Lemon, 3mm Khaki, 6mm Khaki, 7mm Organza Orchid
No 26 gauge cake wire (florists wire does the same thing).
Next Time Panel 4 - Agapanthus, Delphiniums & Beetle Daisies.


No comments:
Post a Comment
Note: only a member of this blog may post a comment.