Showing posts with label Embroidery. Show all posts

Monday, 14 April 2014

Wildflower–Ribbon & Stump Work Tutorial–Panel 6 Part 1

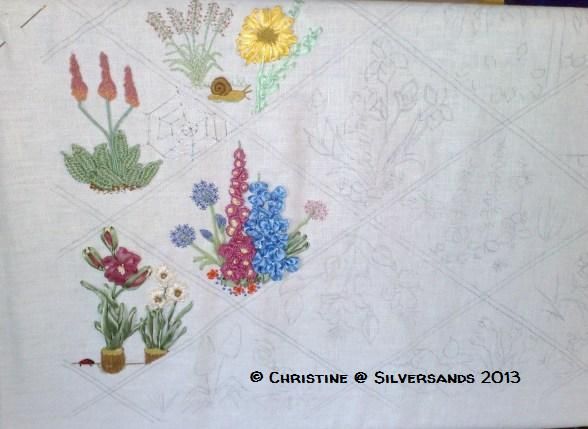
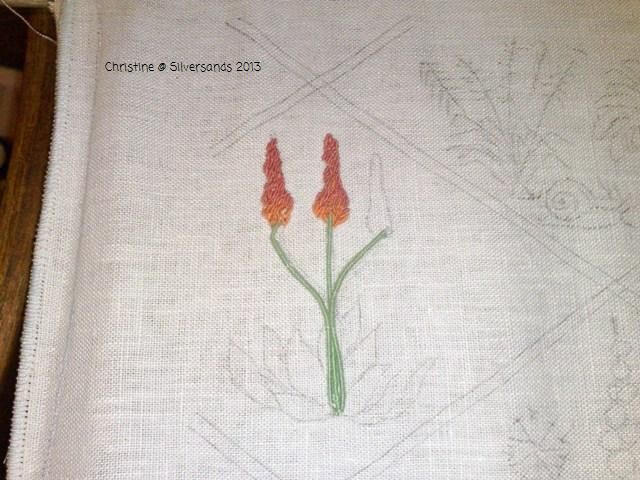
I now update you with panel 6 - Hydrangeas & Wisteria.

Part 1.

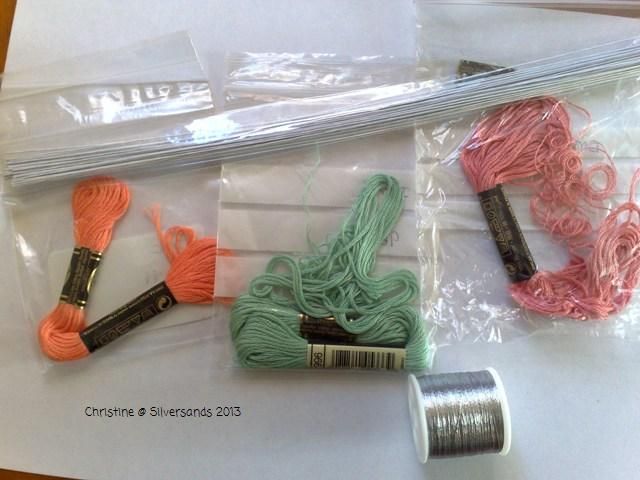
Materials used, DMC - 209, 210 793 - spare waste cotton fabric. 7mm ribbon - green pepper colour.

Stitches used, French knots, detached chain & running stitch.

The hydrangeas are worked on the spare cotton and attached to the ground fabric, they look really effective if I say so myself.

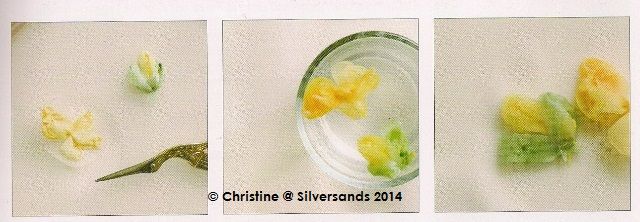
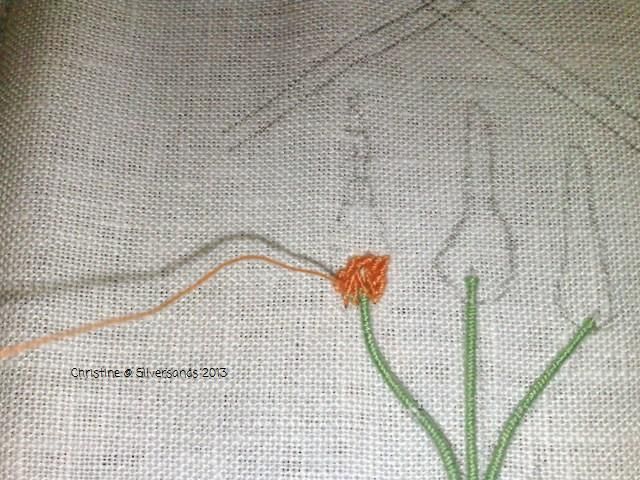
Taking the spare cotton, I drew 10 circles within circles on to the fabric, mounted it in the hoop and proceeded to fill the inner circle with French knots using DMC 209, 210 and 793, mixing the knots, keeping them small and close together to fill the inner circle. Using a longer last thread once the knots were finished, I used that thread to create a running stitch in the gap between the 2 circles.

These loose tails will be pulled once each circle is cut out to form a ball shape, with the spare fabric tucked behind.

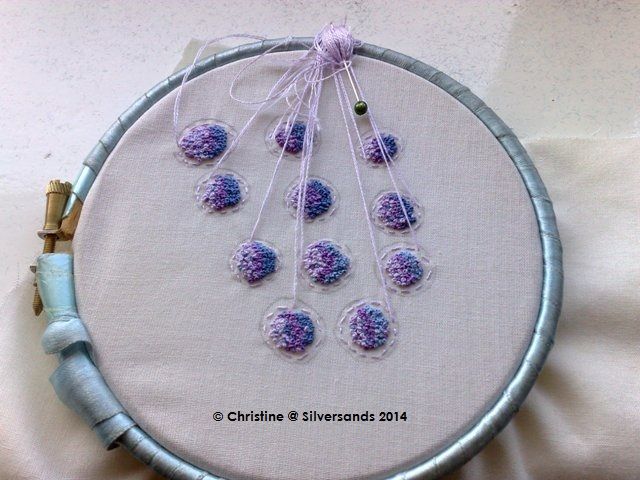
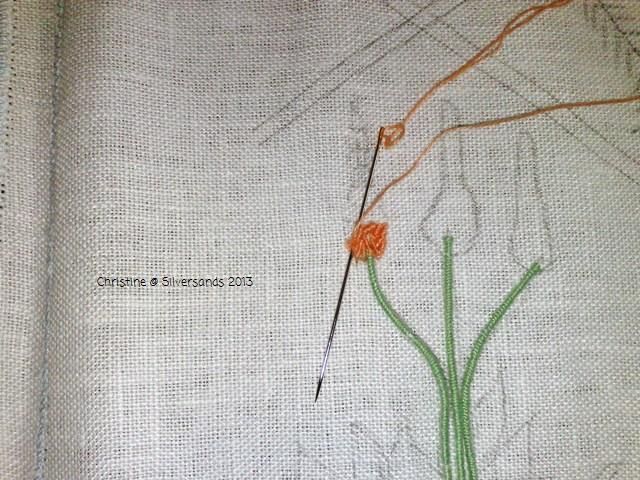
As you can see I used a spare pin to keep the tails out of the way as I worked the circles with French knots.
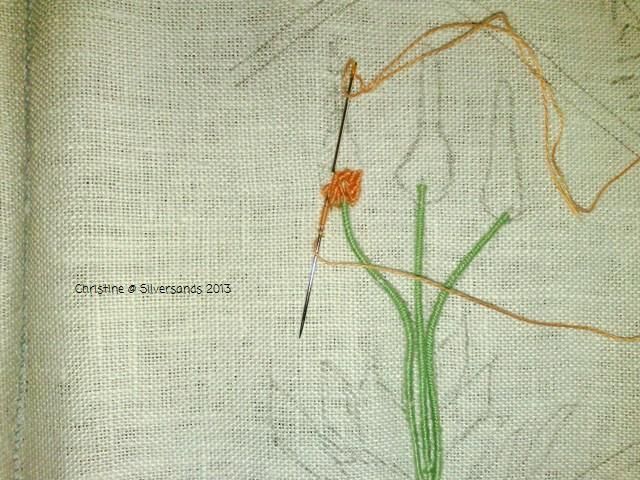
A closer view

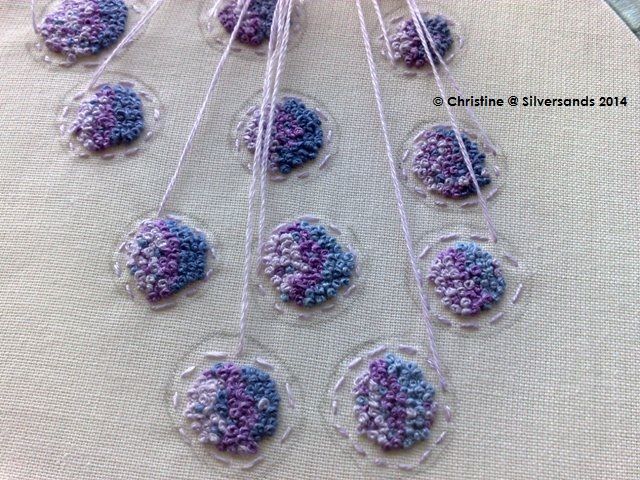
the next stage is to cut the circles out making sure you don't cut the thread tails. Take each Hydrangea, and gentle pull the tail thread until the fabric curls under the back, secure with a couple of stitches but do not cut the tail off as this thread will be used to anchor the Hydrangea to the ground fabric. (saving thread).

Once that is complete you end up with a bunch of hydrangeas ready to place.

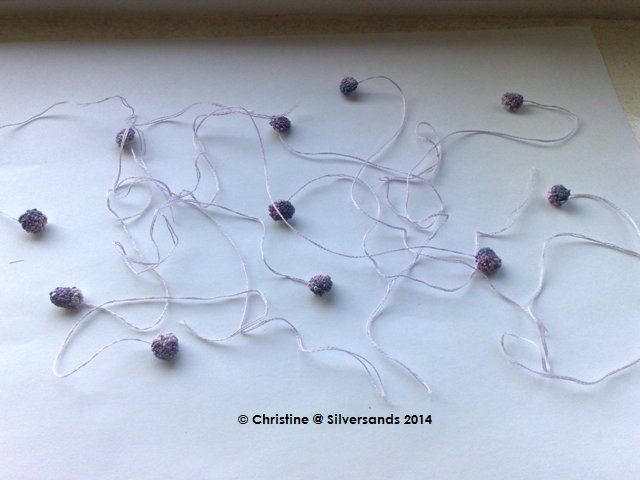
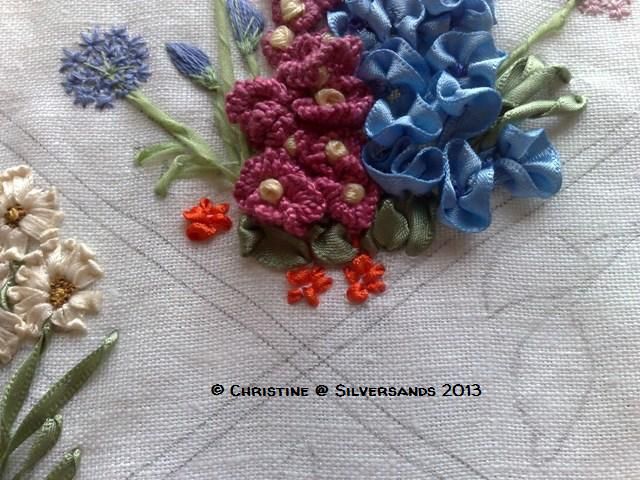
Starting with one of the bigger ones (they are different sizes for a more realistic effect, just make the circles bigger smaller), I placed the first Hydrangea at the bottom of the panel on the ground fabric and used the tail thread to anchor it to the ground fabric making small stab stitches between the French knots.

I carried on placing the Hydrangeas leaving space between them for the leaves.

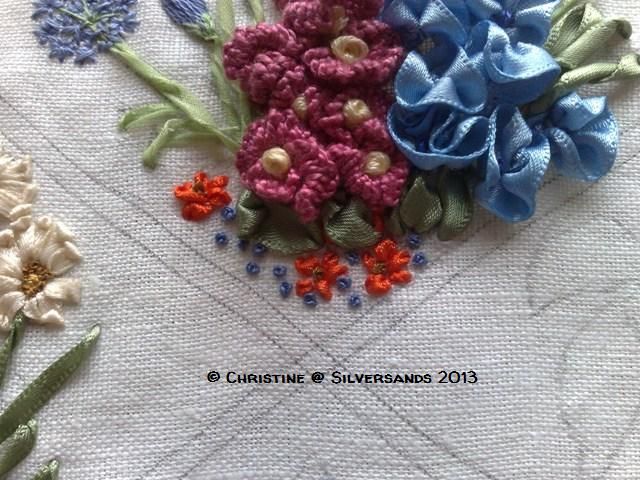
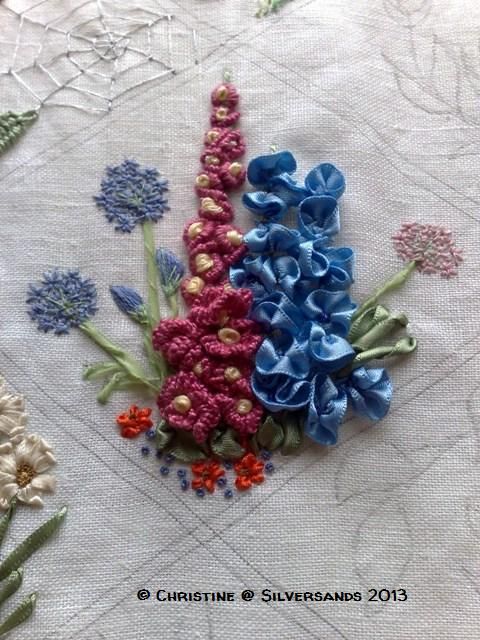
Using the 7mm ribbon I created detached chains between the Hydrangeas, leaving some more puffed than others to create an interesting effect.

And this is the result.

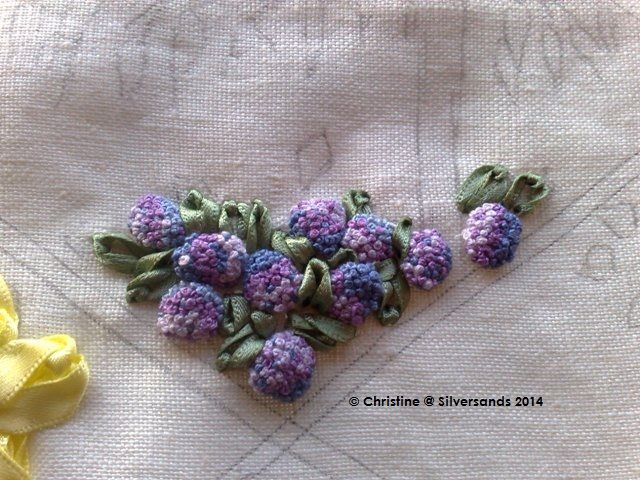
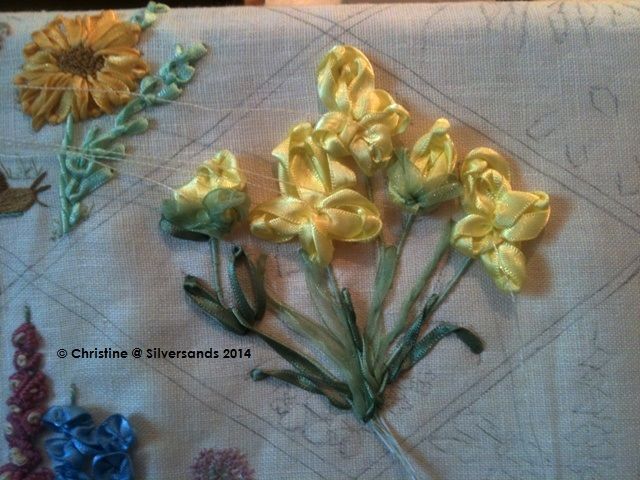
I am really pleased with how this has turned out, even if I say so myself, these little flowers only took an afternoon and I find it quite therapeutic to create French knots which I find so easy to do. The 2nd part of this panel 6 tutorial is to create the wisteria which also uses some interesting stitches.

So until next time - I hope to have another update over the next couple of days.

Wildflower–Ribbon & Stump Work Tutorial. Panel 5 Part 1

So we return to the this tutorial,

Panel 5 - Iris's / Rock Roses and Forget Me Not's.

Materials used: Dissolvable canvas, 7mm ribbon in buttercup & custard colours, 6mm organza ribbon in lemongrass, 7 mm silk ribbon in lemon grass, DMC 369, 793, 3733 Anchor 300, 4mm sick ribbon pink/fuchsia.

This is the first time we work using the ribbon, on a separate medium, remove it then attach it to the ground fabric.
So I mounted the soluble canvas in a hoop and using the 7mm butter cup ribbon about 55cms long, brought the needle up to the front leaving a 2 cm tail at the back and made a puffed detached chain, about 15mm long. I brought the needle up through the starting point piercing the tail on the back at the same time to anchor it all.

I had to hold the tail to the back of the canvas each time a stitch was made, this ensures when you dissolve the canvas the ribbon won't unravel. I added some green organza in on the buds to simulate leaves.

So I repeated until I had enough Iris's & buds required.

the tails look untidy but once you have dissolved the canvas you can tidy things up before attaching to the ground fabric.

So the next job is to dissolve the canvas, I cut round the shapes and dissolved in a bowl of water.

And this is what they look like when dried.

Next job is to tack them in place, on the ground fabric.

As you can see I have tacked them once in the middle to the ground fabric and left long tails, this is so that I can anchor them fully after the wire stems are in place, tidy them up and tack the petals down in the position I want.

The next job is to add the wire stems, so I cut the cake wire in to 5 measuring the length from under the iris to the base, then couched over the wires all the way down with DMC 369. I then added green 4mm Shrub coloured ribbon in twisted straight stitch (we covered how to do this in previous panels)for the leaves and we end up with this.

You can see the wires poking out the bottom, this is fine as the rock roses and forget me knots and leaves will cover, so instead of pushing them through to the back, I just cut them off. & You can still see the tacking threads loose on the iris, now that the leaves and stems are in, the iris's can be anchored down in position. Leaving them loose and floaty before the wire stems are in helps when you need to lift them up to cover the top of the wire stems when couching over them.

The next job is to create spider web roses. This is so easy and effective, bringing the needle up you create 5 arms
so you have a a sort of 5 sided star shape like this

Bring the 4 mm fushia ribbon up close to the center of the shape then weave it over and under each bar, continuing round untill you have covered all the bars, and you end up with this.

You can see I have completed one, and have started the 2nd. There are four of these rock roses in 2 different colours, then on the other side of the stems, I then created forget me not's using tiny flat ribbon stitches and the center dotted with yellow French knots.
I created leaves in amongst them with detached chain stitch (covered in a previous panel), and dotted the whole area in French knots in DMC 369, 793 & 3733

And we finish with this.

now I may go back and add more foliage to fill space but I shall see how it looks when it is surrounded by other panels. Sometimes less is more but this needs deciding on later.

So this is panel 5. Our next panel is Hydrangeas &; wisteria, part of this also involves working off the main ground fabric to create the hydrangeas and I am quite looking forward to it . Till next time

Wildflower–Ribbon & Stump Work Tutorial Panel 4 Part 2

So we left this with just the Beetle daisies & French knots to do to finish off.

So using Groves & Banks Fiery Orange Ribbon, its just a case of making small straight ribbon stitch for the petals like this

I also added a couple of straight orange stitches with in the green leaves. The to finish just make French knot centres in the middle of the daisies with DMC 420.

This is the 4th panel finished

What we have so far

Next Panel is Irises, Rock Roses & forget me not's.
This panel involves a new technique using soluble canvas, so we will be working off the main fabby for a while, dissolving the canvas from the flowers and then attaching to the main project.

Until we meet again :)

Wildflower Ribbon Stump work Tutorial

So I thought I'd take you on a journey with me through the wild flower panel, some of these stitches are new to me so your have a ring side seat as I bugger it up. Pull up a chair grab your cuppa and lets get started

Panel 1

The Aloe & The Spider.

Design is transferred, backed with muslin and put on a frame

This is what I am using for the Aloe & Spider web - 26 gauge cake wire, DMC 966 / 3341 / 760 / Metallic Thread / Spider charm

Stems complete

These wires are not couched to the fabric, they are secured at the bottom then wound with 2 strands to the top then secured.

The Aloe is made with bullion knots
Bring the needle up at the front

Take it up and catch a stitch bringing the point out where you first started

I'm doing a 10 wrap Bullion so make 10 wraps around the needle

Keep your thumb on the wraps as you pull the needle through, as the thread bunches up lay the bullion in the direction you want then take the needle down where you want the tip of the bullion to go to secure it.

The first Aloe flowers

I can see a couple of gaps but I can fill them in.

So I'll complete the 3rd aloe flower and then move on to the leaves which are open based picots. I'm not happy with those free floating stems so once all the stitching is done, I shall go back, sort the stems and couch them down with invisible thread.

In the large area to the right of the aloe, there is a spiders web, the metallic silver will be used for that, I looked in my stash but couldn't find any spider charms and have had to buy some off eBay, hopefully they will arrive before I get to the web part.

So that's as far as I got, I'll post again when I start the leaves and show you these picots.

Tips:

For bullion knots always use a straw / Milliners needle, these don't taper so the wraps slip off easily when your pulling the thread through.

Wires - watch out for sharp bits as your working.

Transferring design by taping to a window - Beware its a killer on your arms.

Next Post - Open &; Closed Base woven Picot leaves.