Monday, 14 April 2014

Wildflower–Ribbon Stump work Tutorial–Panel 3 Part 1

Panel 3 Narcissus, Lilly & ladybird.

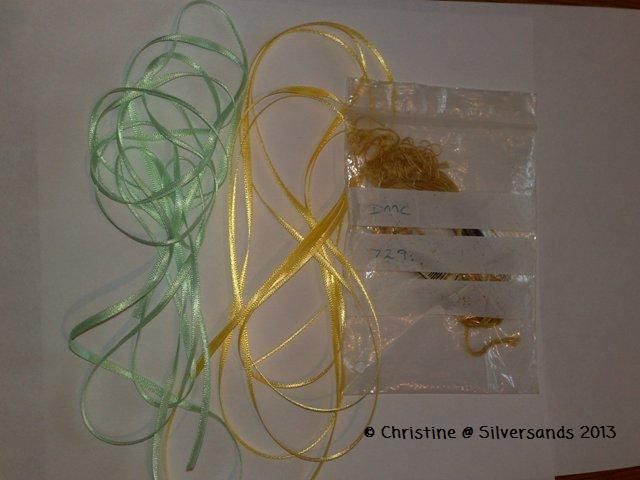
Supplies: DMC 420 / 834/ 729 - 3mm groves & banks khaki ribbon &3mm Groves & banks cream ribbon.

So starting with the Basket of the Narcissus, Using 1 strand of 420 I made vertical lines down the basket and then stem stitched around the outline. The basket is done with whipped spiders web stitches in rows, so carrying on with the same thread, and starting on the right side at the top, take the needle under the 1st bar,
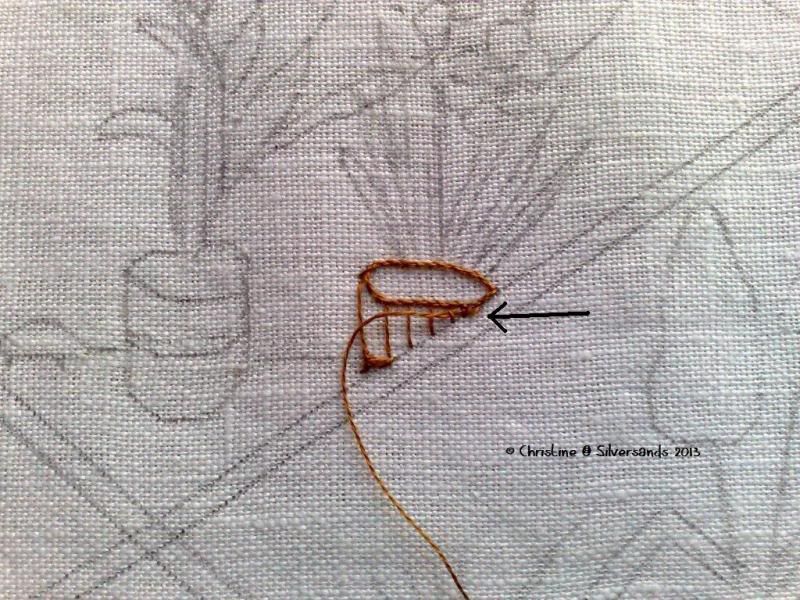
bring the needle back over the 1st bar again but make sure the working thread is below the needle
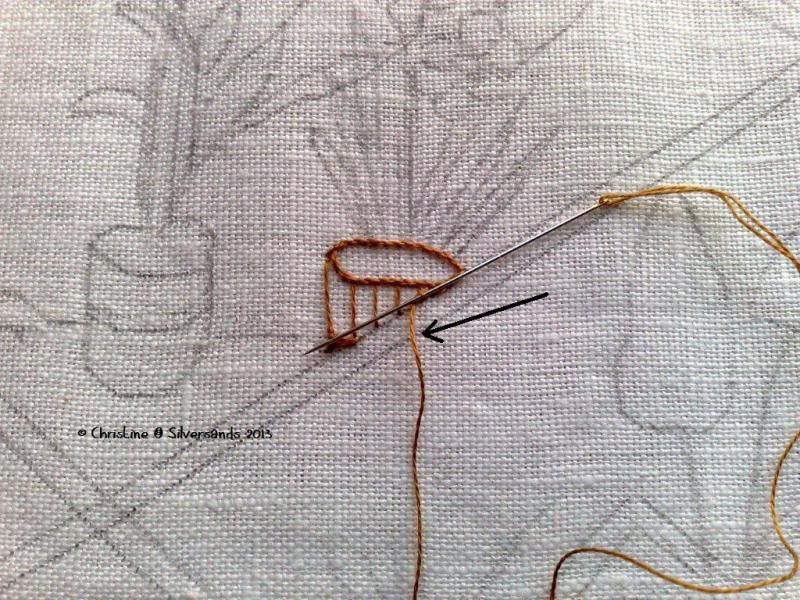

then gently pull to gather up the thread
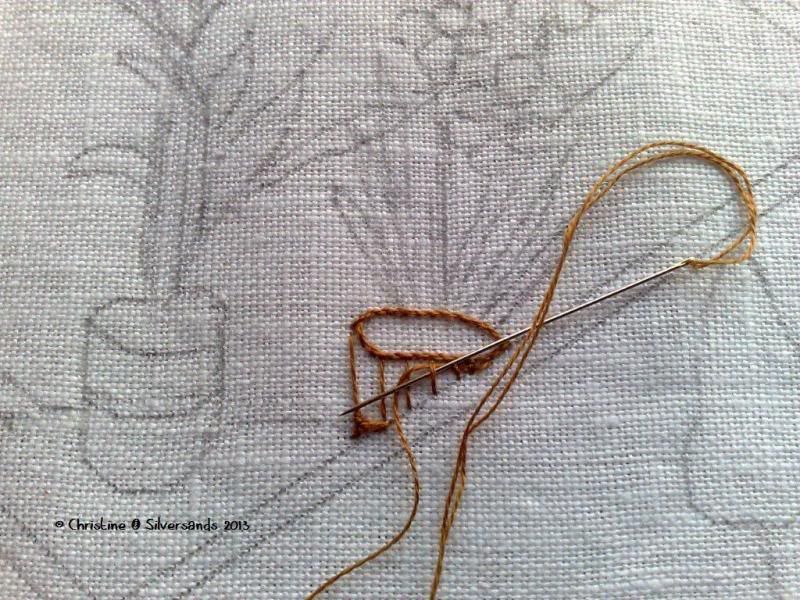
keep going across the basket, at the edge make the last stitch then take your needle through to the back then across to the right starting a new row.

(had a malfunction with camera here so a bit of a break.)

Once the basket is woven just fill the top with some French knots, 1 strand, I used 720 for this, and then it was on to the leaves, these are twisted ribbon stitch which we did in a previous panel, so no explanations needed.

with that done out the way it was time to tackle the narcissus flower, these are ribbon stitch done with cream ribbon, and very easy to do.
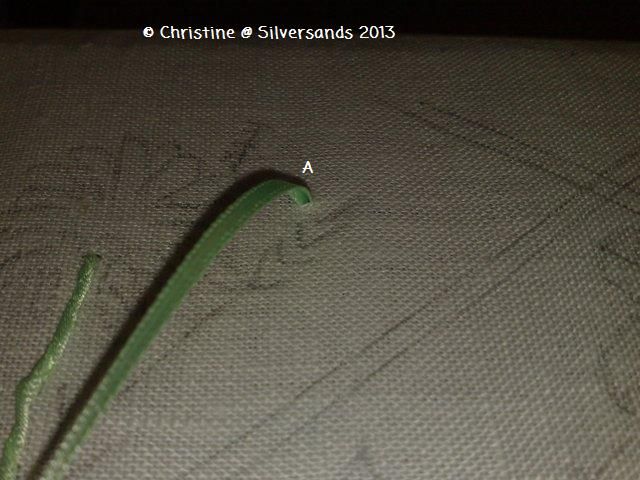
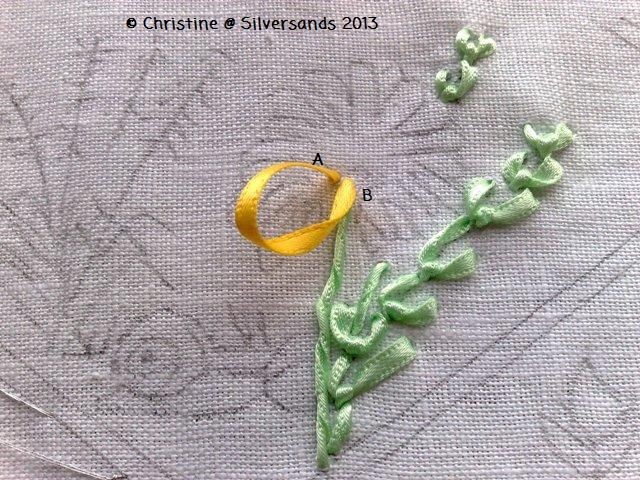
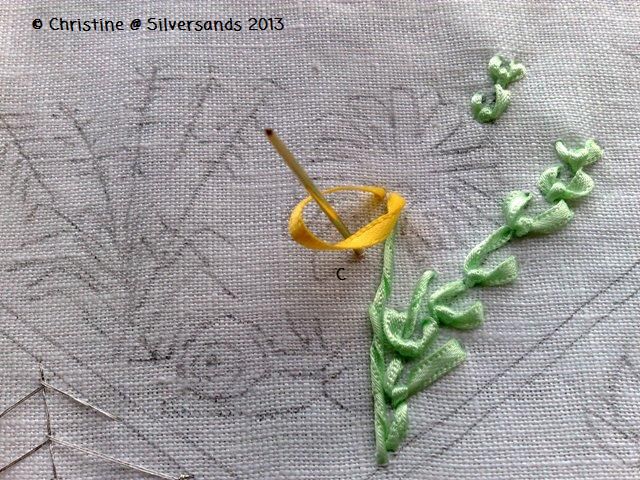
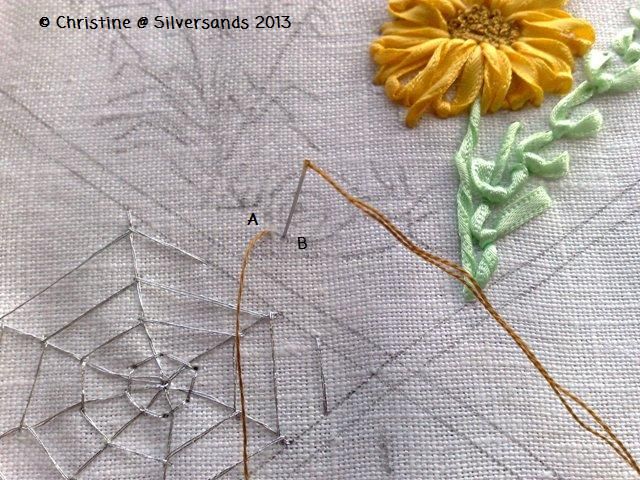
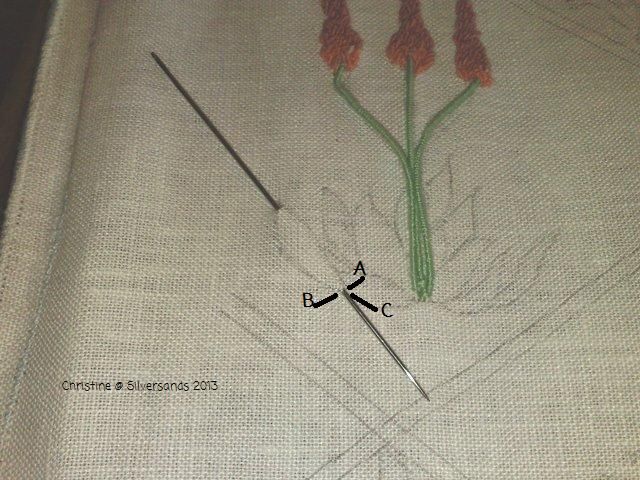
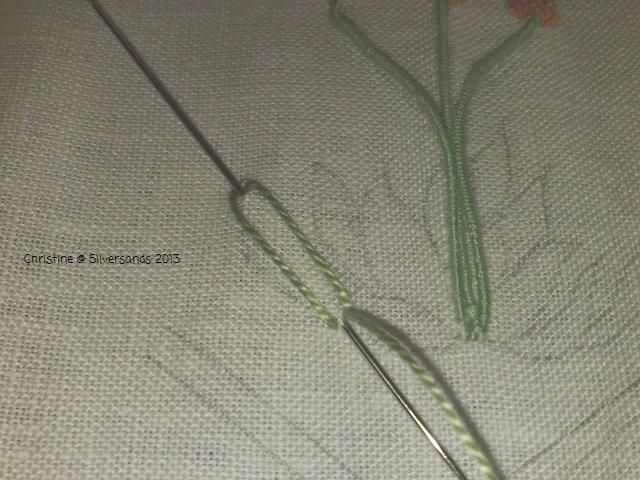
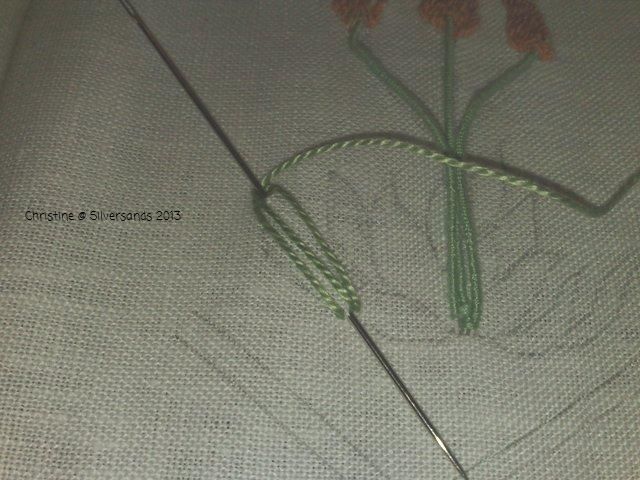
Come up at the inner edge of the petal at A, lay the ribbon across the petal guided by the pencil marks then put the needle in the ribbon at B just below the petal edge, we are stitching through the ribbon
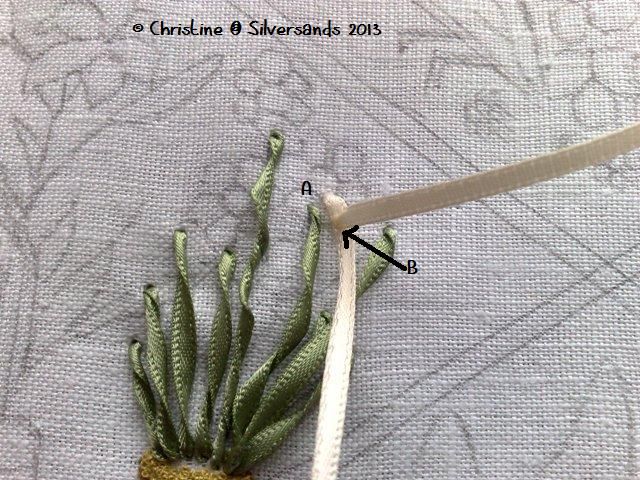
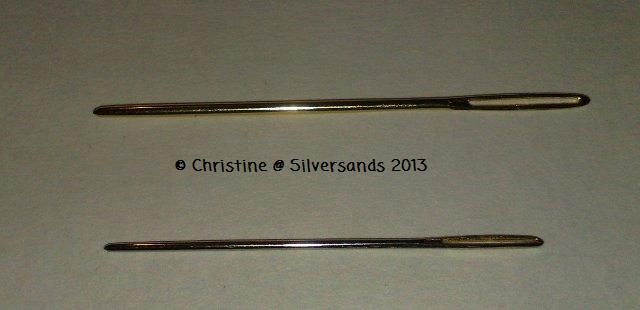
remember when working with ribbon, you must use a needle with a big eye so that the ribbon can go through itself or the fabby smoothly.

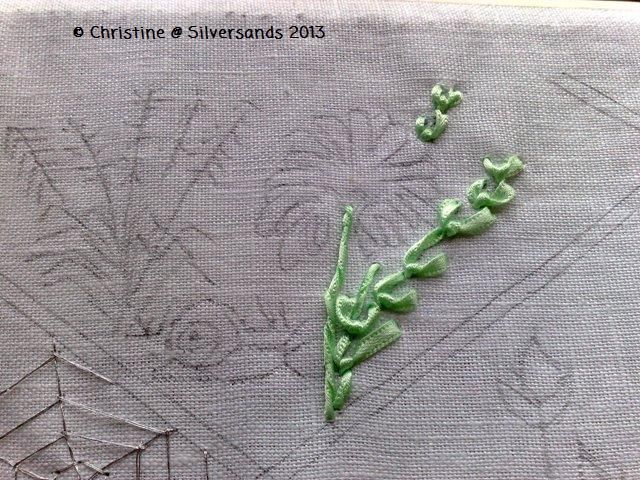
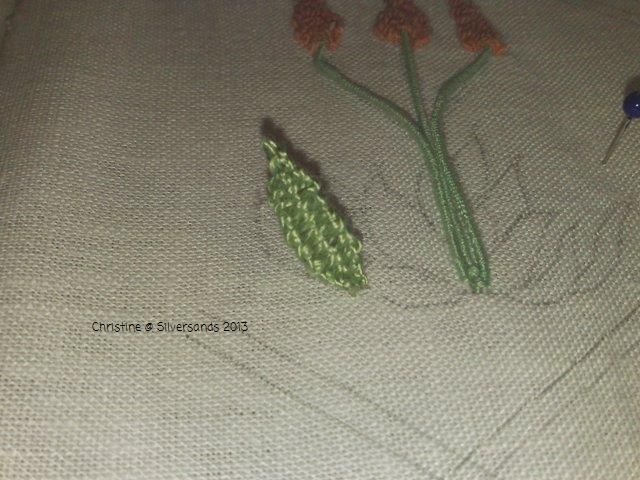
Make ribbon stitches for each petal, working over the leaves, doing 2 stitches per petal to cover, the end result looks like this
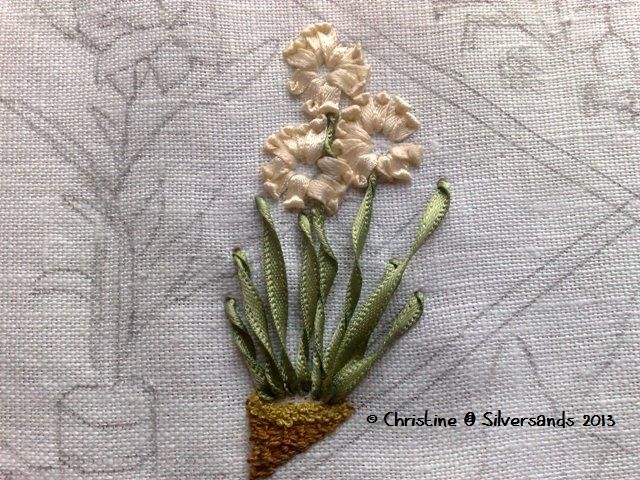
Now make one large French knot in the center of each flower with 729 & 3 wraps and then fill in small French knots surrounding the middle one with 844 &1 or 2 wraps to fill the centres.
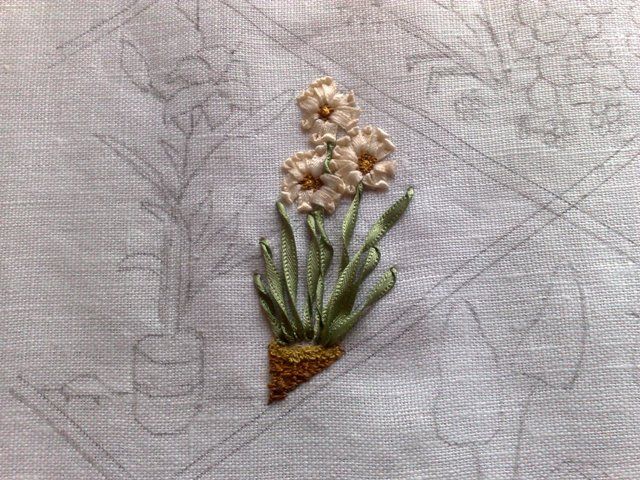
now here you can see in the basket a few more French knots are needed to fill up
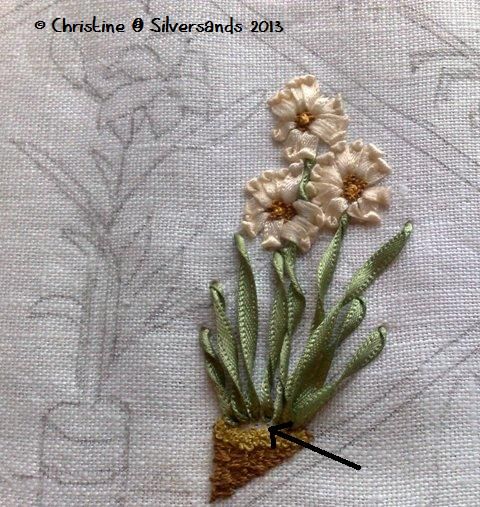
I left it like this when I began the twisted ribbon leaves & stems as I didn't know what the placement would be like till it was done, so now I can just fill up the ground with more tiny French knots which I will do when I move on to the Lilly basket.

And the Narcissus is complete, it didn't take too long to do either.

next time, The Lilly & ladybird

Wildflower–Ribbon Stump work Tutorial Panel 2–Part 2

So we start where we left off on the snail by finishing the body

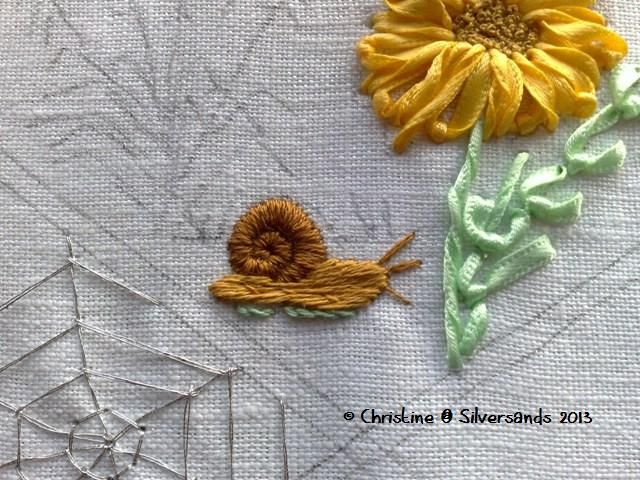
the body is quite easy to do, I outlined the shape with small stem stitch in DMC 729, then filled it with long straight stitch, the tentacles are also straight stitch, I added a small bit of stem stitch in DMC 369 under the snail so he's not floating in mid air.

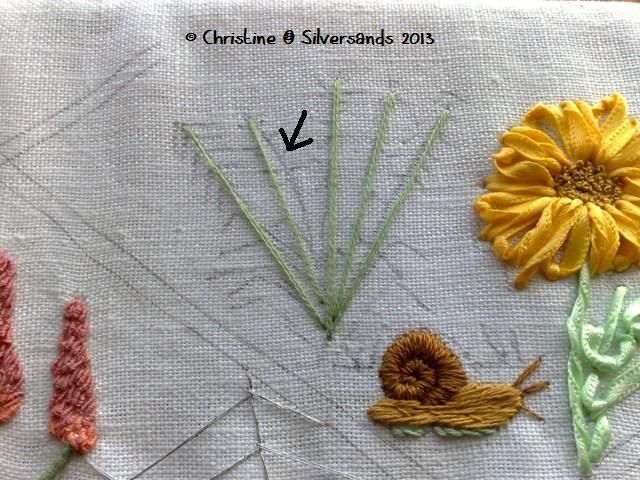
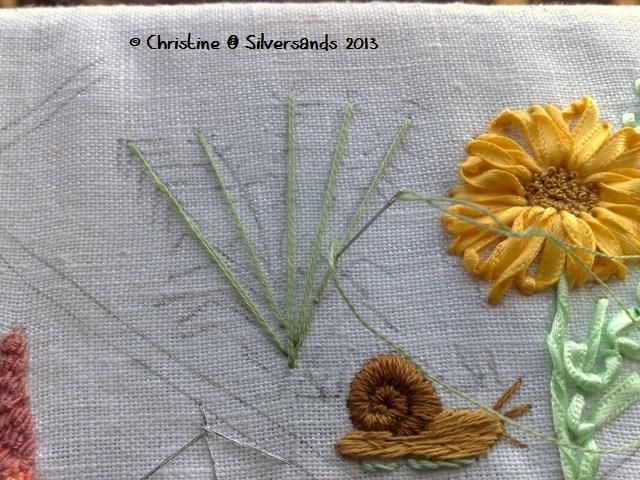
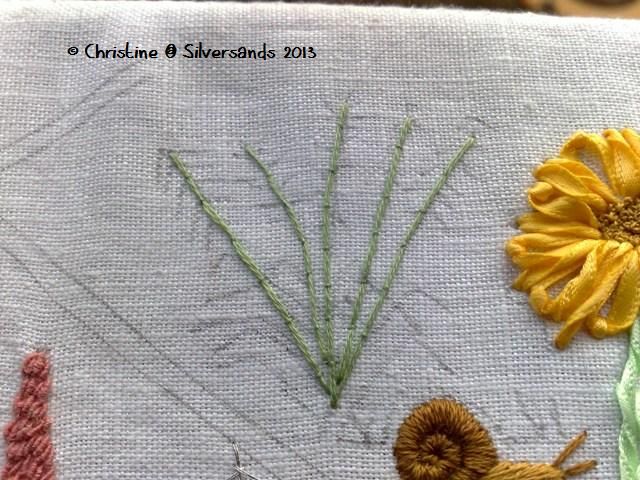
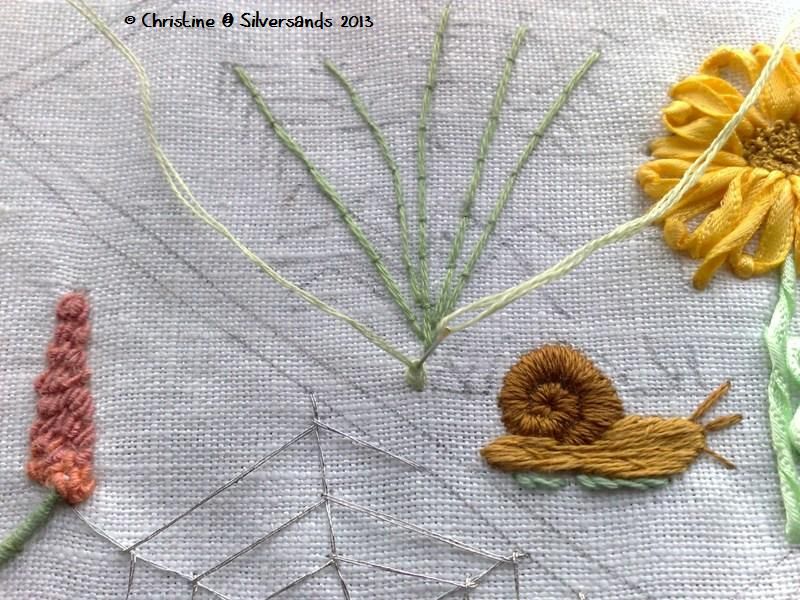
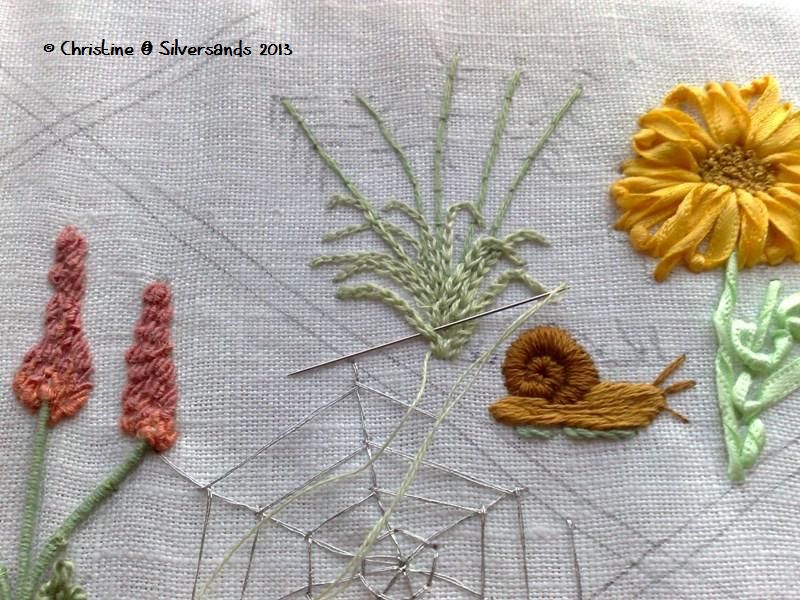
Now its on to the Sorghum, using 1 strand of DMC 368, I made long straight stitch from the base to the tip of the stems and couched it down.

you can see here that because its straight it doesn't follow the pencil lines, this is fine, as you come to couch this stalk, just push the stem over the pencil lines as you couch it in to place

Couching

Couched

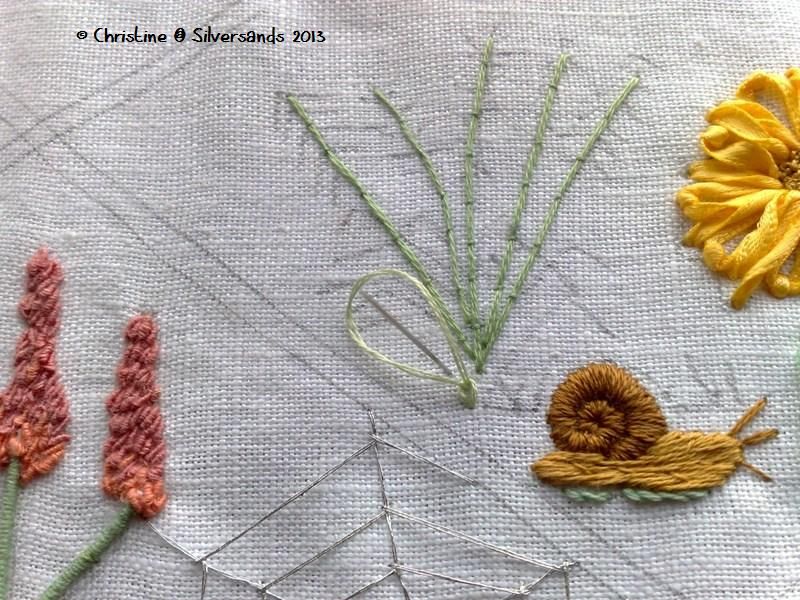
next is to work on the leaves, which will be chain stitched, with some whipped just to give a bit of definition
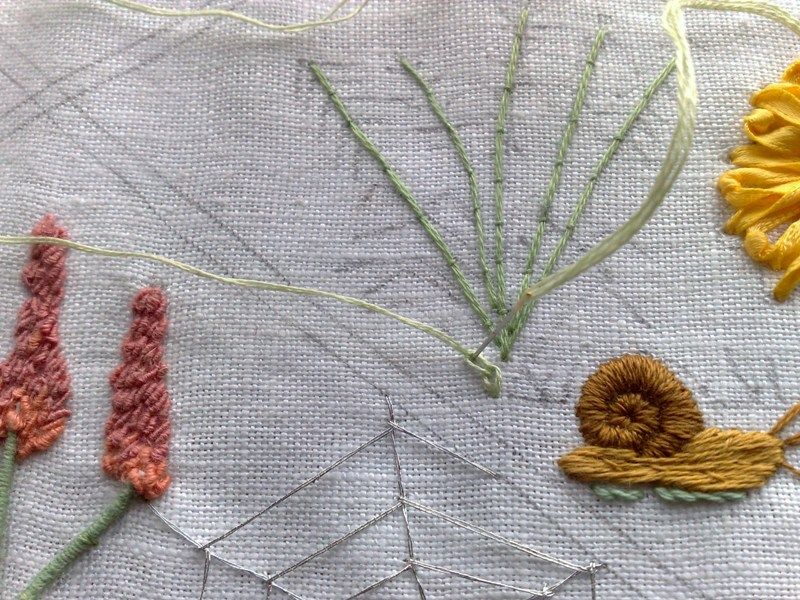
so you bring your needle up at the base of the leaf, take it down in the same hole you came up in or very close, as you pull the working thread though it creates a loop, don't pull tight, leave that loop and bring the needle up in the middle of it and then pull the working thread tight but leaving enough slack so that you can go down in the middle hole you came up in to make your 2nd chain


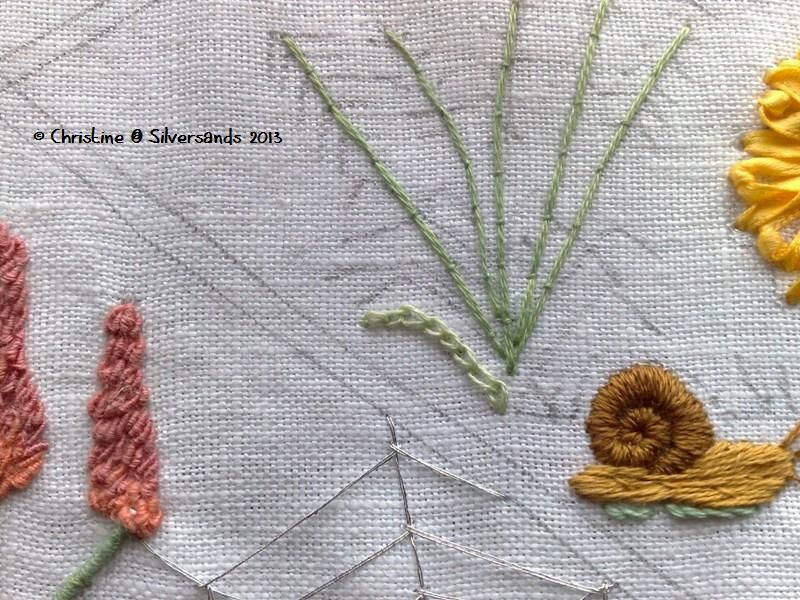
Make your loops follow the direction of your pencil markings and when you need to finish, on the last loop when you come up in the middle, instead of going back down in the middle just make a little stab stitch at the end to finish the chain like this

Do the same for each leaf and then its time to whip, using 1 strand come up at the bottom of your leaf and just whip your needle under & over the chains

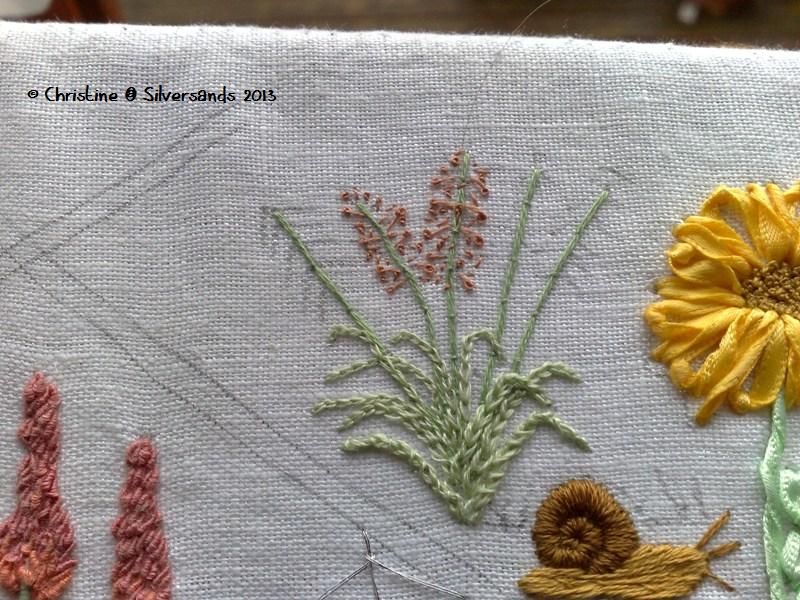
Now I moved on to the flowers, now these are made of French knots, stab stitch (1 tiny back stitch) & Pistil Knots, which are basically French knots on a stalk. Pistils are so easy to do, come up where you want the start of the stalk the same as a French knot, wrap the thread around the needle and instead of going down near the hole you came out of as if to make a French knot, take the needle 1 cm away and go down, you still get the French knot, but now its on a stalk , I dotted tiny stab stitches & French knots with 1 wrap in & around the pistils for this effect

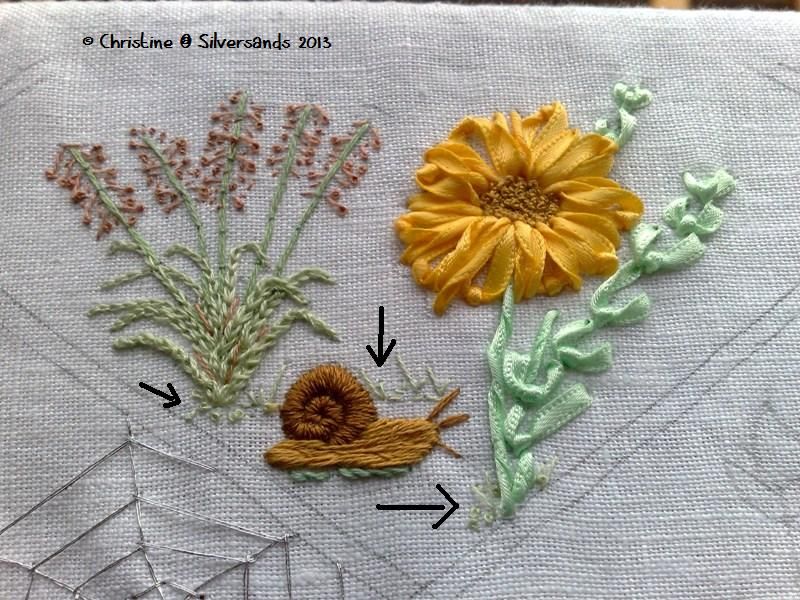
Once the flowers were completed, I just added some French knots at the base of the Sorghum & some straight stitch grass at the points indicated by the arrows

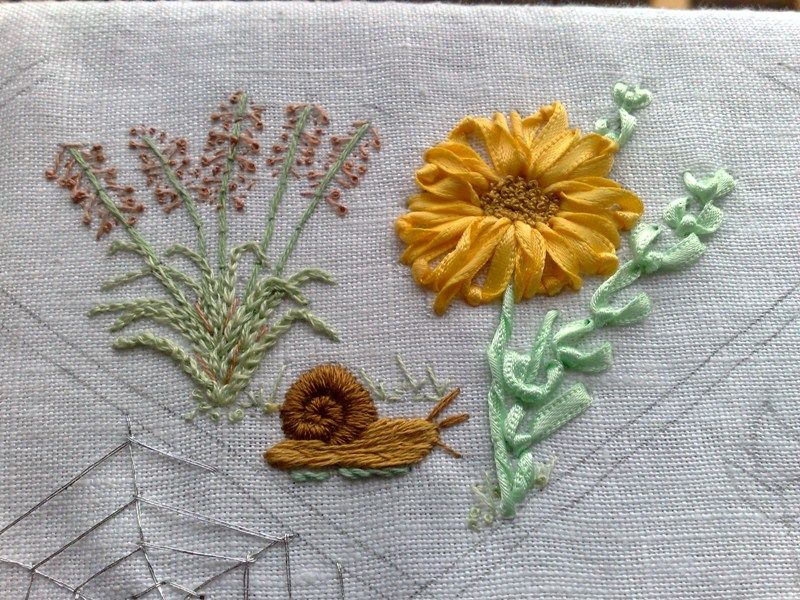
And this is Panel 2 completed

Stitches used in this Panel were: Twisted straight stitch(ribbon), Fly Stitch (ribbon), lazy daisy (Ribbon), French knots, Padded satin stitch, straight stitch, chain, stitch, Pistil stitch, stab / straight stitch, chain stitch, whipped chain stitch & couching.

So in the panel we worked with ribbon, and it is not as hard as you might think just using loops & twists, I hope through my clumsy explanations ribbon work is not so daunting and your inspired to have a go, just grab a doodle cloth and a spare bit of ribbon and have a go :D

Next panel is Narcissus, a Lily & a ladybird.

Wildflower–Ribbon & Stump work, Panel 2 part 1

Panel 2 - Part 1.

A Daisy, wild Sorghum & a snail.

So we left this project with just a spider charm to add and are moving on to Panel 2 and using ribbons.
Materials used in this panel

We are using Groves & Banks Ribbons which you can get practically anywhere these days. Mint & yellow gold 3 mm ribbon & 2mtrs of each. Also DMC 729, 420 & 955

When working with ribbon you need a large eyed needle, for the ribbon to go smoothly through the hole the needle needs to be able to pierce a big enough hole, and the eye needs to be large to take the ribbon, if you create too large a hole you can always push the fibres back to close the hole at the end when tidying up.


I am using a chenille size 18 & 7 & crewel size 7.

we are starting with the daisy
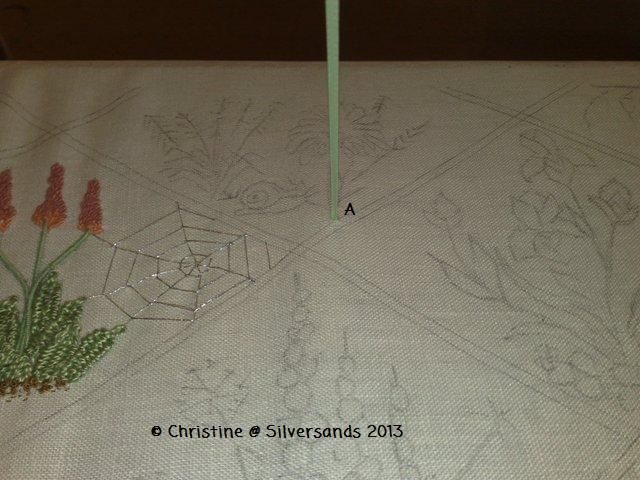
so take the Mint ribbon, we shall be working on the stem & leaves Cut it to about a foot long (30cms) as its more manageable. Knot the end thread 18 chenille.
Come up at A at the bottom of the stem

Twist the ribbon and take to the back at B - just past the petals near the middle of the flower

This is a twisted straight stitch, easy eh  :D. See I said it wasn't too bad. This is the stem completed, so cut ribbon at the back and using DMC 955 secure the ribbon tail at the back. Bring the needle through the front (your using a normal needle now), just push the ribbon in to place hiding pencil marks and just catch it down here and there with some tiny stab stitches to hold it.

Now on to the fly stitch leaves.
cut a new length of mint and now on to the fly stitch leaves, starting at the top of the leaf come up at A

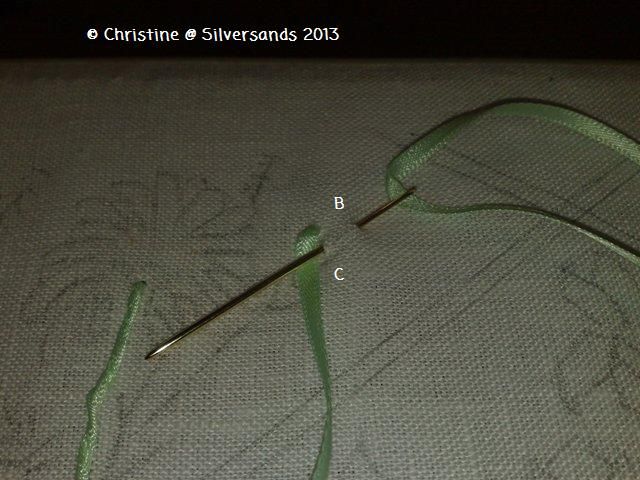
catch a stitch at B and come through at C

make sure the ribbon is under the needle, use a thumb to keep it in place and pull your needle through keep pulling till it's tight and then take the needle down again as close to C as you can, come up again at the tip of the next leaf down and do the same again, continue all leaves.

Secure your ribbon at the back and snip excess, then change to the Gold ribbon.

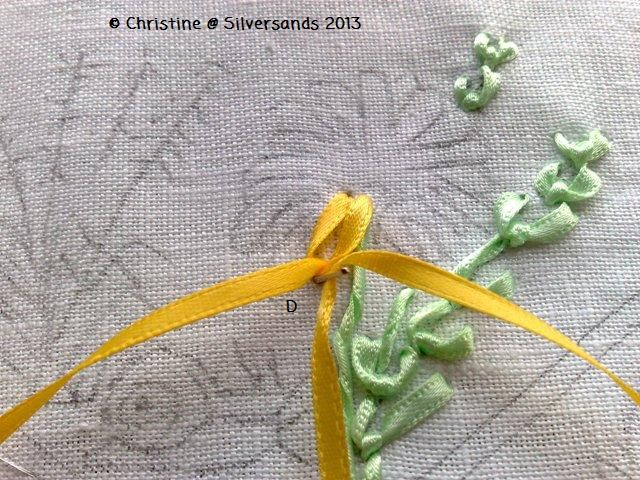
Now its on to the daisy petals, every alternate petal is a open daisy chain or detached chain stitch
bring your needle up at A & take it down at b

Come up at C


And down at D

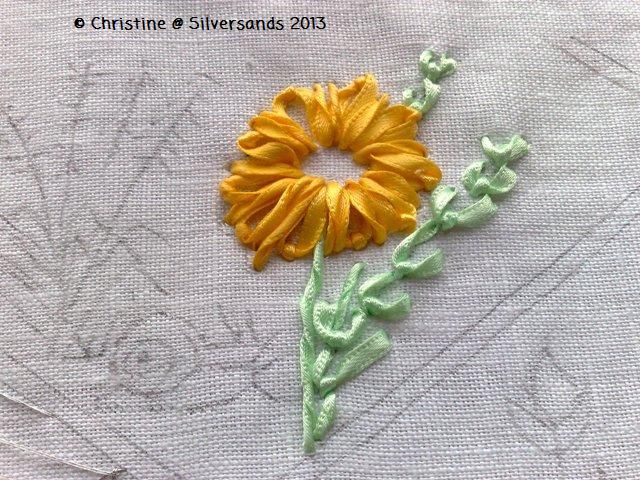
Do each alternate petal like this, I tried to vary the lengths, the in-between petals are a twisted straight stitch, the same as we did for the first stem, it now looks like this

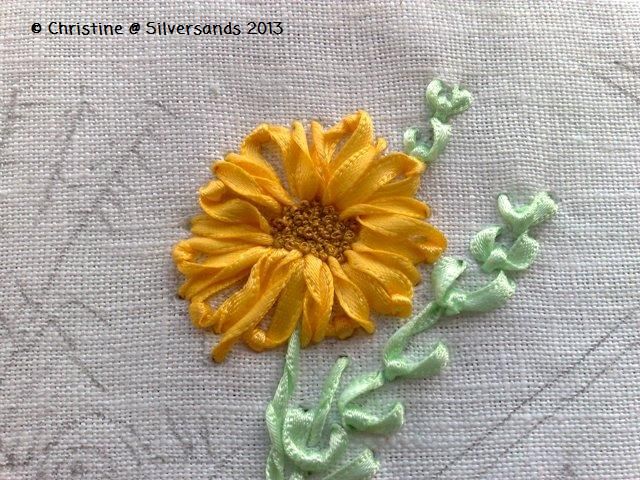
Now I filled the centre of the flower with French knots, using 1 & 2 wraps & 2 strands of 729

So its on to the snail ( i didn't finish this today as I had to go to my class)

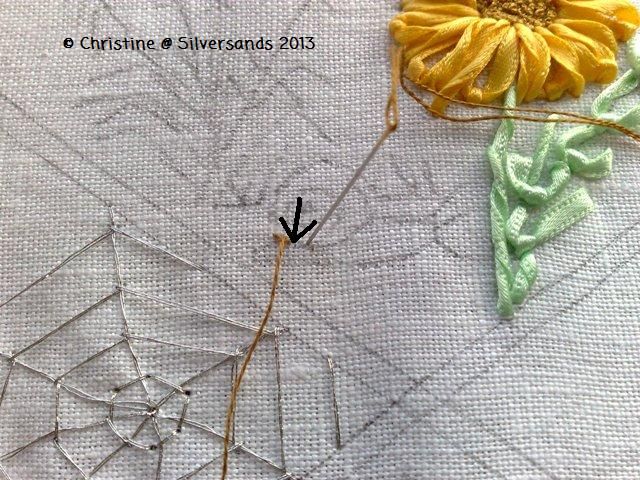
Outline the shell with stem stitch using 1 strand of DMC 420
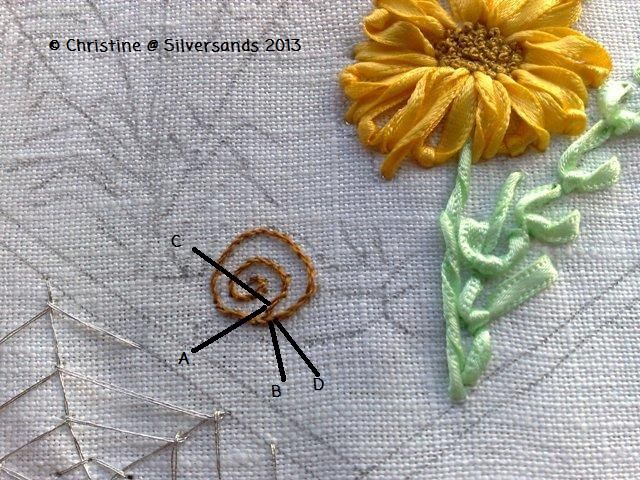
come up at A And down at B but don't pull thread all the way through

Come up at C and now pull the thread through 

take a stitch forward and then come up at C which this time will be right at the end of the first stitch

Pull through and keep going till you have outline the shell, the next step is padded satin stitch to fill the shell in

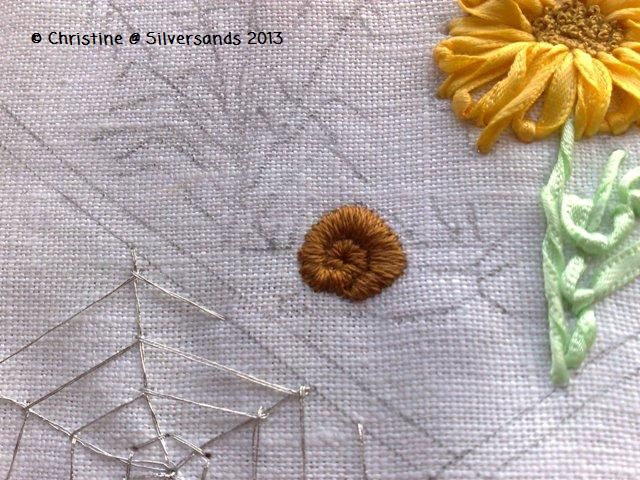
Satin padded stitch is easy, you outline a shape then stitch over it going outside the outline.
So
come up at A, Down at B (A Laying tool or spare needle used as a laying
tool works well here to keep the satin even)up at C & down at D,
and then just keep going following the curve.

So
this is far as I got, the next stage is to work the body of the snail, which we will look at next time. As you can see its not too daunting and  quite effective once you get going.

Hope I'm not boring you with this &  thanks for the comments so far.

Wildflower–Ribbon & Stump work Panel 1 part 2

Panel 1 - Part 2
I apologise for the photos, the light was weird in the lounge today even putting lights on didn't help.
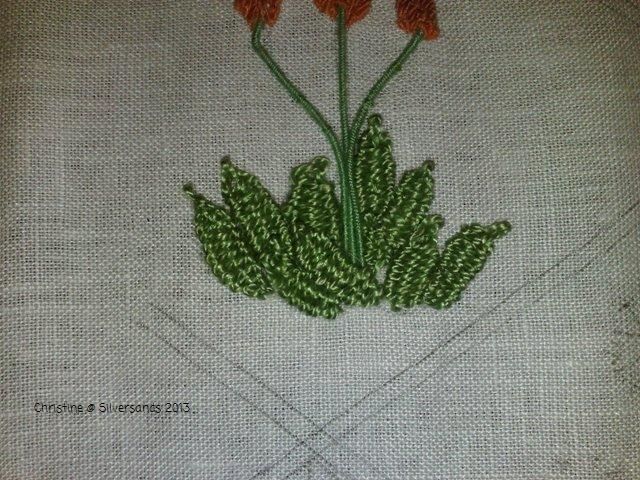
So we left the panel with the Aloe's complete except for a bit of tidying up of the free floating wire stems.
And today we are looking at Woven picots for the leaves, French Knots for the ground & The Silver spider's web.

I am using Anchor 214 Perle for the leaves,

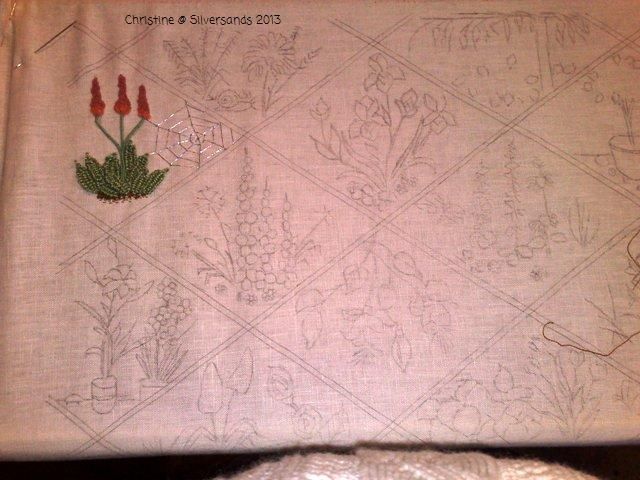
My book does not give you a thread list, and actively encourages you to use your own threads although it does give a colour swatch for each panel so you can match your own threads, ribbons, charms etc..


So To start with a woven picot, it is easy once you get the hang of it. :)

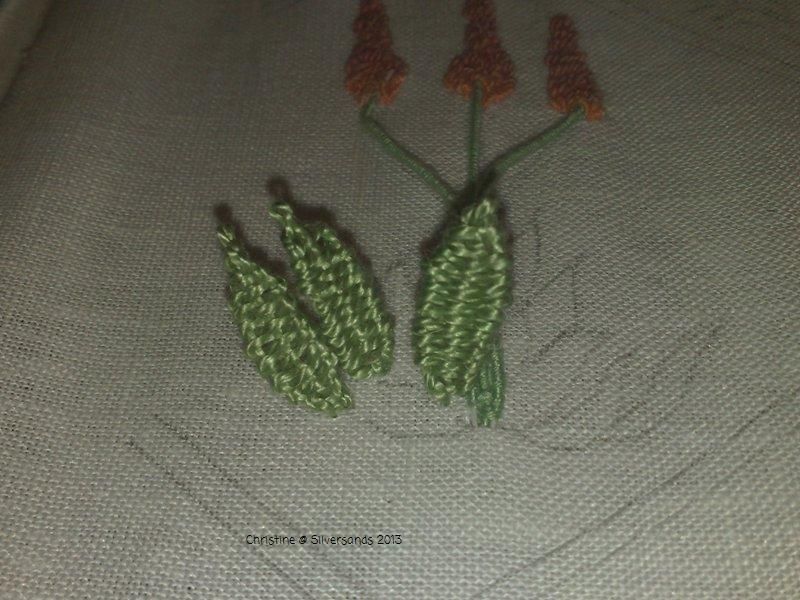
Take a long needle, I use my doll making needle and slide it in to the fabric from the tip to the base of the leaf in the centre like this


bring your needle up at A take it anticlockwise round the top of the doll needle & bring it down at B

Bring it up at C and take it clockwise round the top of the doll needle


then slide the needle over the centre stitch you just made & under the left hand stitch, then weave it over the left hand & under the middle, over the right hand, going back & forth until you get to the bottom, keep the stitches close together by sliding them up. To keep the shape of the leaf, I pin both sides out to the shape of the leaf drawn on the fabric and weave down to the pin, remove it and carry on. As you make the turns with each line, don't pull to tight as your squash the width of the stitch which you want to be as wide as the design.

The End result looks like this (I probably did not explain to well above)

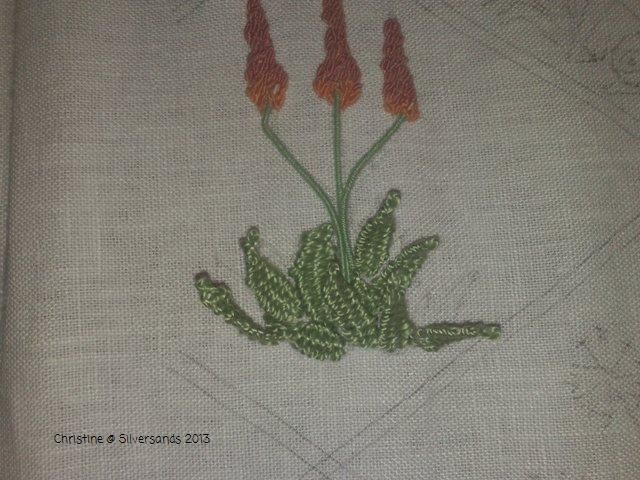
Now you notice this leaf is now free standing, this is good, it moves so you can move it while you work, it means when all of them are done you can just tack them down with a couple of stitches, you can give each leaf a twist, but most of all you can cover your pencil marks. I found pinning each one back gave me more room to complete the ones hidden underneath

Ending with this

So now I used some DMC in a matching colour and just tacked each leaf down with a stitch top middle & bottom, spreading them out to cover the design.

So other than French knots & seed stitches under the Aloe its all but done, but I then moved on to the Spider web.
As I said before, I ordered some spider charms, they wont get here till end of march so that will be added later, but the spider web is easy.

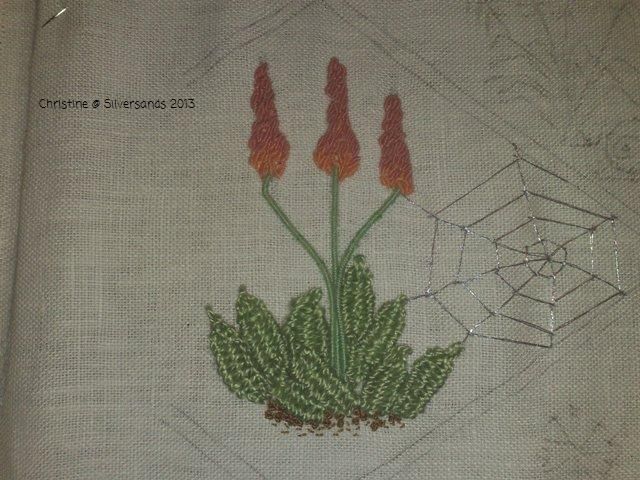
I came up in the middle of the white space using 2 strands of metallic thread (Hemline silver sewing thread)and took one long stitch to the aloe came up in the same stitch in the middle and made long stitch spokes. Then used long stitch to do the inner spokes. The thread split slightly but the spider will cover that so I'm not too worried.

Once the web was complete I added some French knots below the aloe, using 2 & 3 wraps to the knot and 1 & 2 threads using DMC 420. The seed stitches (which is 1 back stitch) are also DMC420 and scattered about. Just to give the ground some depth.

So all that is needed to finish is the spider charm.

This panel is finished, we used wire work, Bullion Knots, French Knots, Seed stitch ,long Stitch and Woven picots.

Next time we start working with Ribbon as well as embroidery on Panel 2.

:D

Wildflower Ribbon Stump work Tutorial

So I thought I'd take you on a journey with me through the wild flower panel, some of these stitches are new to me so your have a ring side seat as I bugger it up. Pull up a chair grab your cuppa and lets get started

Panel 1

The Aloe & The Spider.

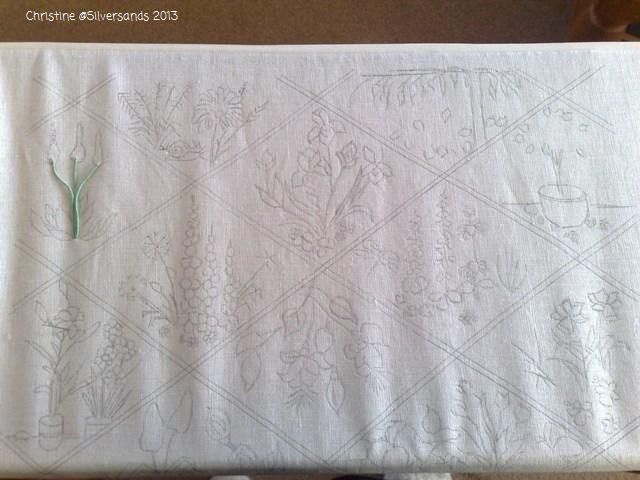
Design is transferred, backed with muslin and put on a frame

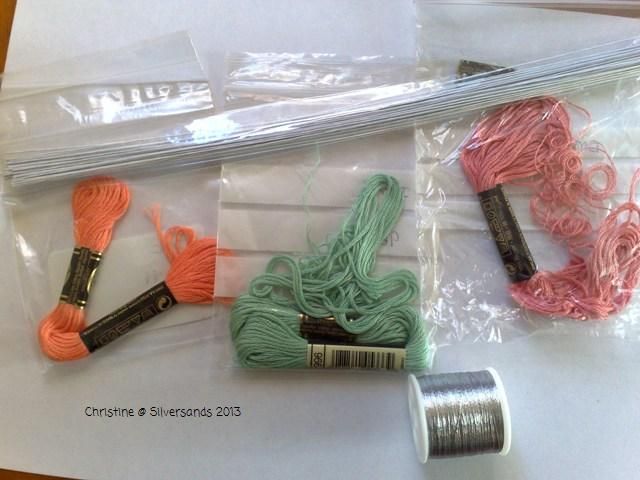
This is what I am using for the Aloe & Spider web - 26 gauge cake wire, DMC 966 / 3341 / 760 / Metallic Thread / Spider charm

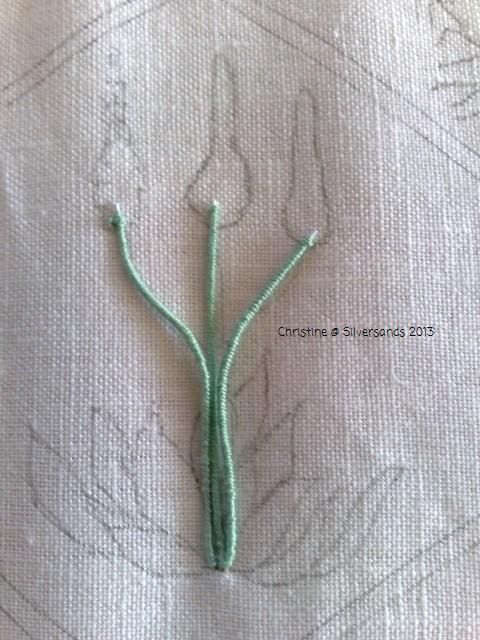
Stems complete

These wires are not couched to the fabric, they are secured at the bottom then wound with 2 strands to the top then secured.

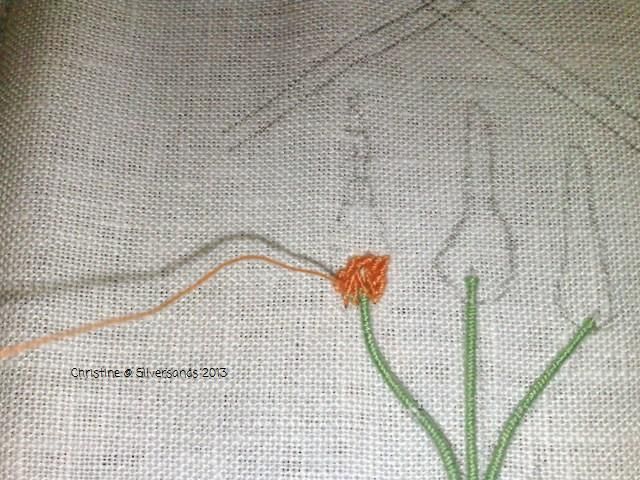
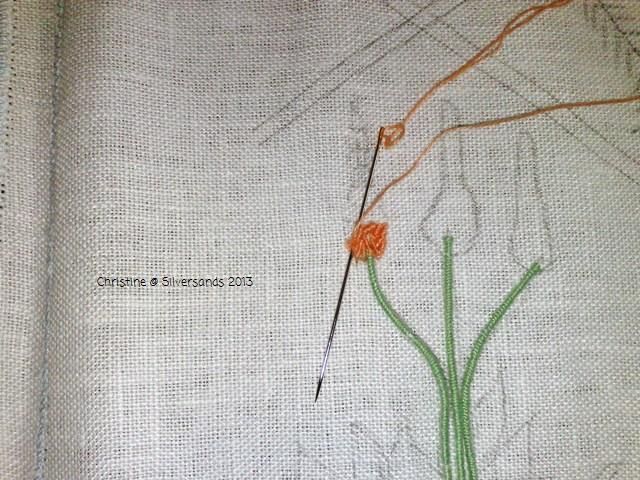
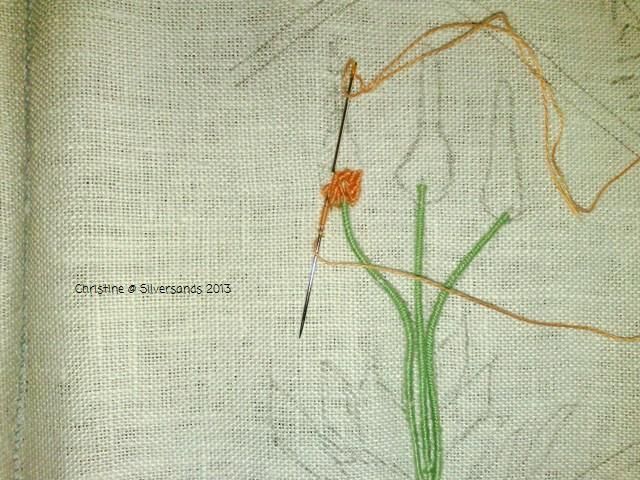
The Aloe is made with bullion knots
Bring the needle up at the front

Take it up and catch a stitch bringing the point out where you first started

I'm doing a 10 wrap Bullion so make 10 wraps around the needle

Keep your thumb on the wraps as you pull the needle through, as the thread bunches up lay the bullion in the direction you want then take the needle down where you want the tip of the bullion to go to secure it.

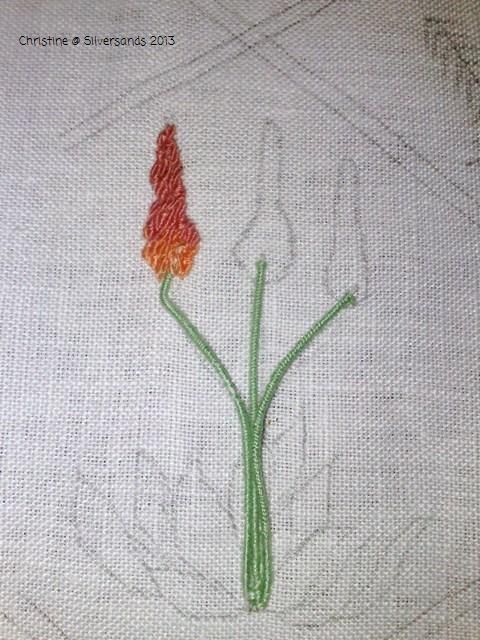
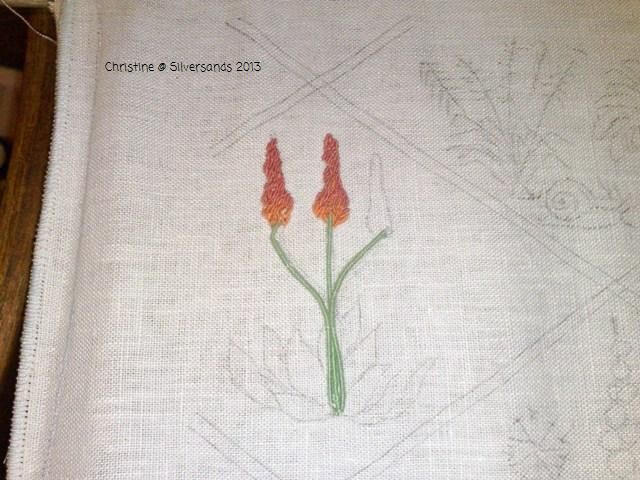
The first Aloe flowers

I can see a couple of gaps but I can fill them in.

So I'll complete the 3rd aloe flower and then move on to the leaves which are open based picots. I'm not happy with those free floating stems so once all the stitching is done, I shall go back, sort the stems and couch them down with invisible thread.
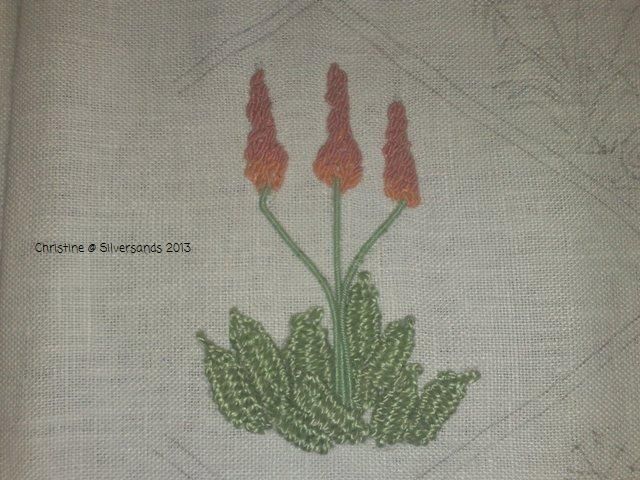
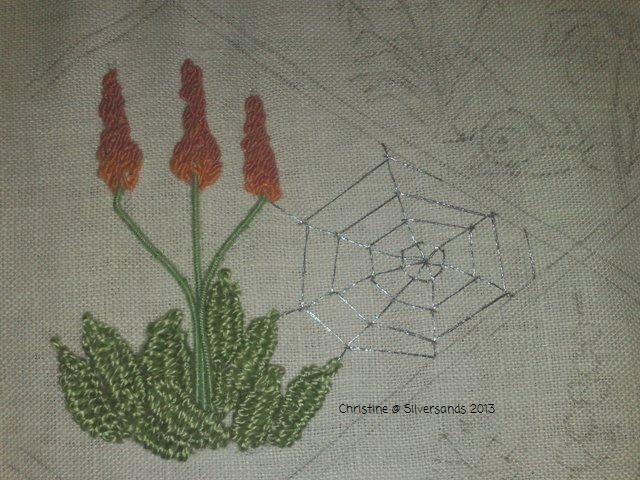
In the large area to the right of the aloe, there is a spiders web, the metallic silver will be used for that, I looked in my stash but couldn't find any spider charms and have had to buy some off eBay, hopefully they will arrive before I get to the web part.

So that's as far as I got, I'll post again when I start the leaves and show you these picots.

Tips:

For bullion knots always use a straw / Milliners needle, these don't taper so the wraps slip off easily when your pulling the thread through.

Wires - watch out for sharp bits as your working.

Transferring design by taping to a window - Beware its a killer on your arms.

Next Post - Open &; Closed Base woven Picot leaves.